Clash of Spears covers the same time period and armies as Saga Age of Hannibal. The rulebook costs about the same as the Victrix Roman or Carthaginian army boxes. This offers the Saga gamer the choice of buying a new army or buying new rules to offer more options for an existing army or doing both (and vice versa for the Clash of Spears player).
Having started with Saga and owning Clash of Spears we will look at how a similar battle plays out with both systems. The Saga version is in the previous post.
Saga has an elegant simple points system. Clash of Spears is old school with basic costs, additions or subtractions for just about everything. Thankfully there is an on-line calculator. Using the 6 point lists from the previous Saga battle the Clash forces ended up with the Epirotes light and requiring an additional set of phalangites to make up the numbers. The Romans were a pretty close match with the new points standing at 1115 (Epirote) to 1129 (Roman).
Clash of Spears relies on commanders who have a pool of points used to activate units or add bonuses to game actions. Saga only requires a single commander so some ‘regular’ models will need to be re-purposed. It also supports the musician and standard bearer units provided with most Victrix sets. These options are not, however, required to play the game.
Clash of Spears is marker heavy compared to Saga. Units are marked for fatigue (up to 6), activations in a turn (up to 3) and additionally commanders need to record their command point allowance (up to 5). A few models can also take more than 1 wound (another marker). On a positive side activations and command points are cleared away at the end of the turn. The game photos below show only a handful of fatigue markers remaining in play.
A unit can be activated 3 times in a row; for example 3 moves or move, throw weapon, move into melee. If less than 3 activations are made at the same time the remaining activations can be used to attempt to act again later in the turn, including interrupting an opponent or as a bonus to melee combat. A unit with all 3 activations used is pretty much dead in the water so there is an incentive to keep an activation unused unless there is no obvious threat to the unit. Actions build up fatigue based on the terrain and what the unit is doing. Any event pushing fatigue above 6 will instead be taken as unit losses. Up to that point fatigue will gradually reduce a unit’s effectiveness. Fatigue can be reduced by not activating.
The scenario with 2 central objectives is the most similar to the previous Saga game. A 4′ by 4′ board is recommended but to keep the games as similar as possible the existing 4′ by 3′ Saga board, terrain and deployment edges have been kept in place. In Saga there is no concept of army morale. Some games can see both armies seriously depleted, the degree of depletion affecting the result. In Clash of Spears losses can lead to automatic loss of the game. Loss of half an army’s models will lead to a moral check at the end of turn. This is based on the best remaining unit in the army so will probably be passed. Loss of another 1/6th of the force will subtract 1 from the test die roll increasing the chance of losing. In this scenario control of an objective counts the same as losing 1/6th of a force so has a strong affect on which an army will break and lose the game.
Clash of Spears uses a deployment system similar to some of the ‘Too Fat Lardies’ games where tokens move across the map and become locked in place when opposing tokens approach each other. When all tokens are locked the corresponding units are deployed, although some of these tokens could be dummies. The distance that a token has moved before deployment and the armour of the related unit affects how much fatigue the linked unit will start the game with when deployed.
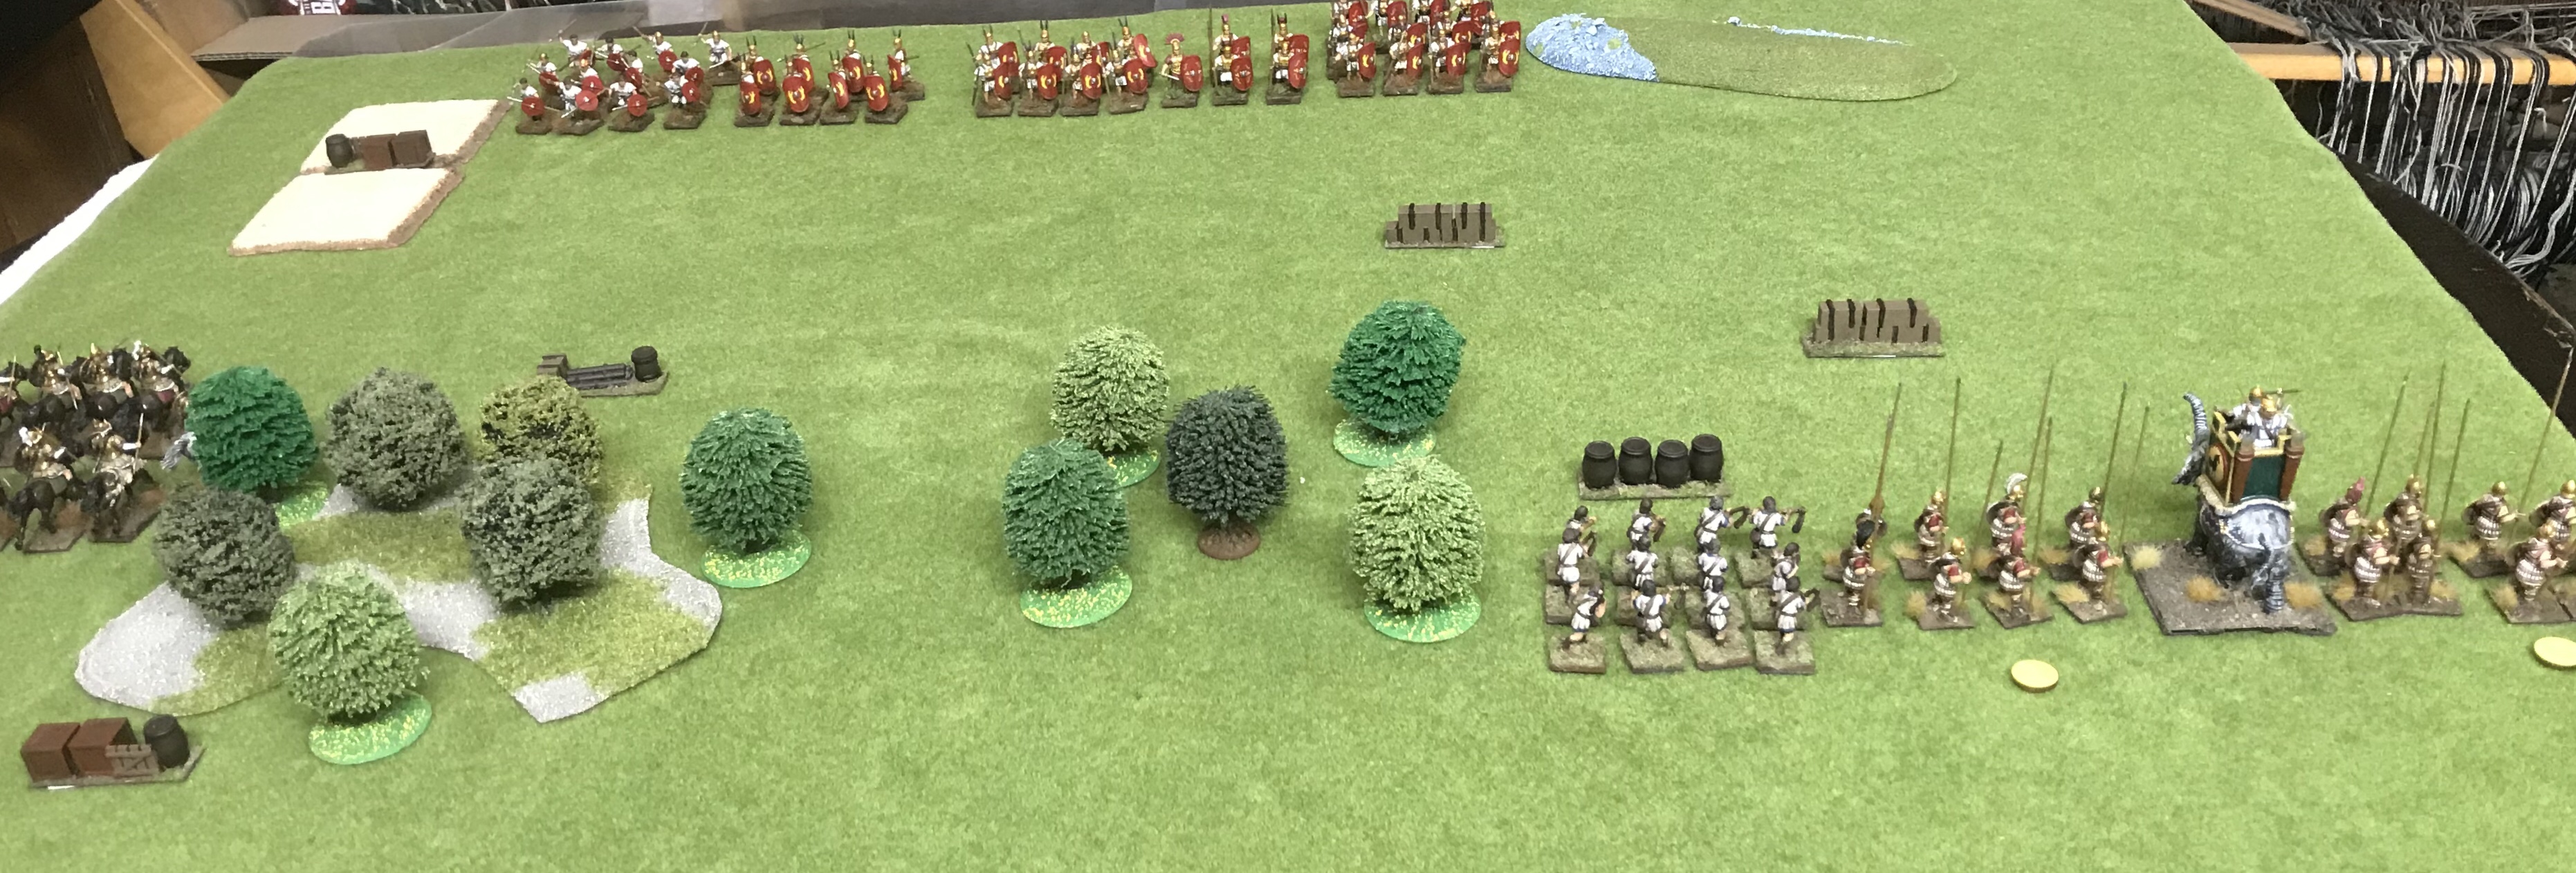
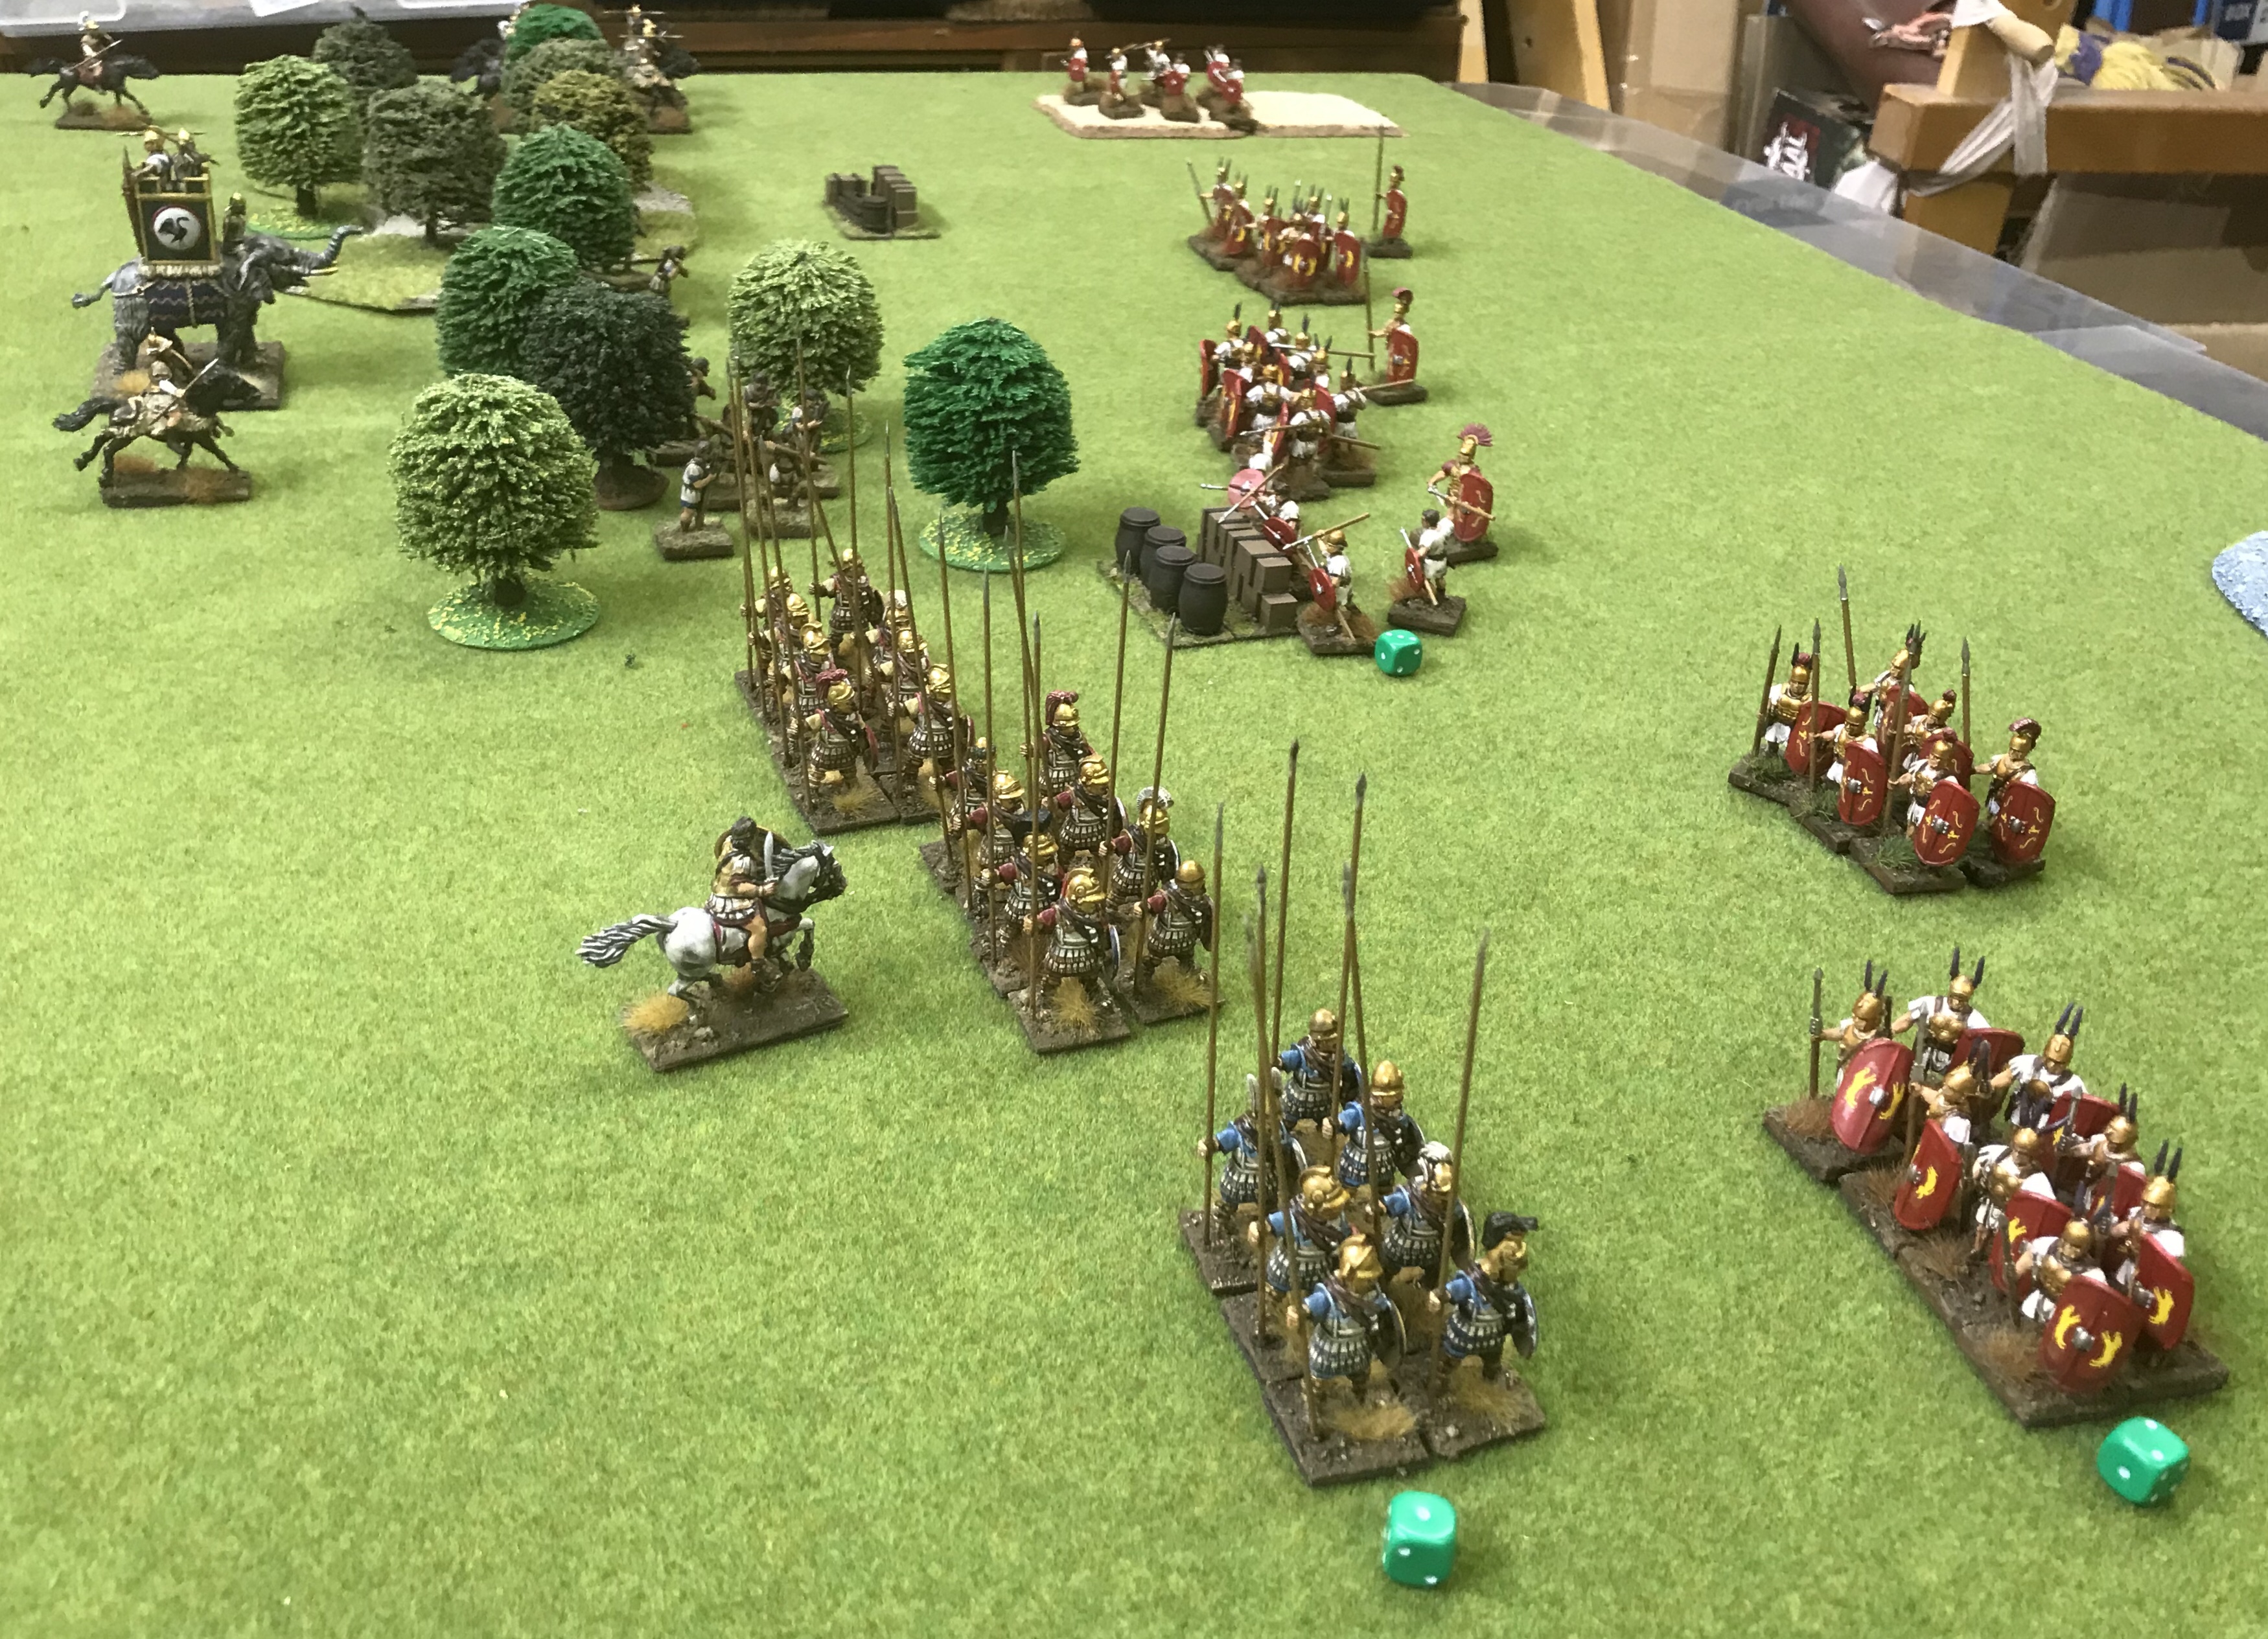
This is the initial set up. The Epirote cavalry and a unit of Roman Hastati begin with fatigue. There is an area of open terrain between the 2 areas of wood.
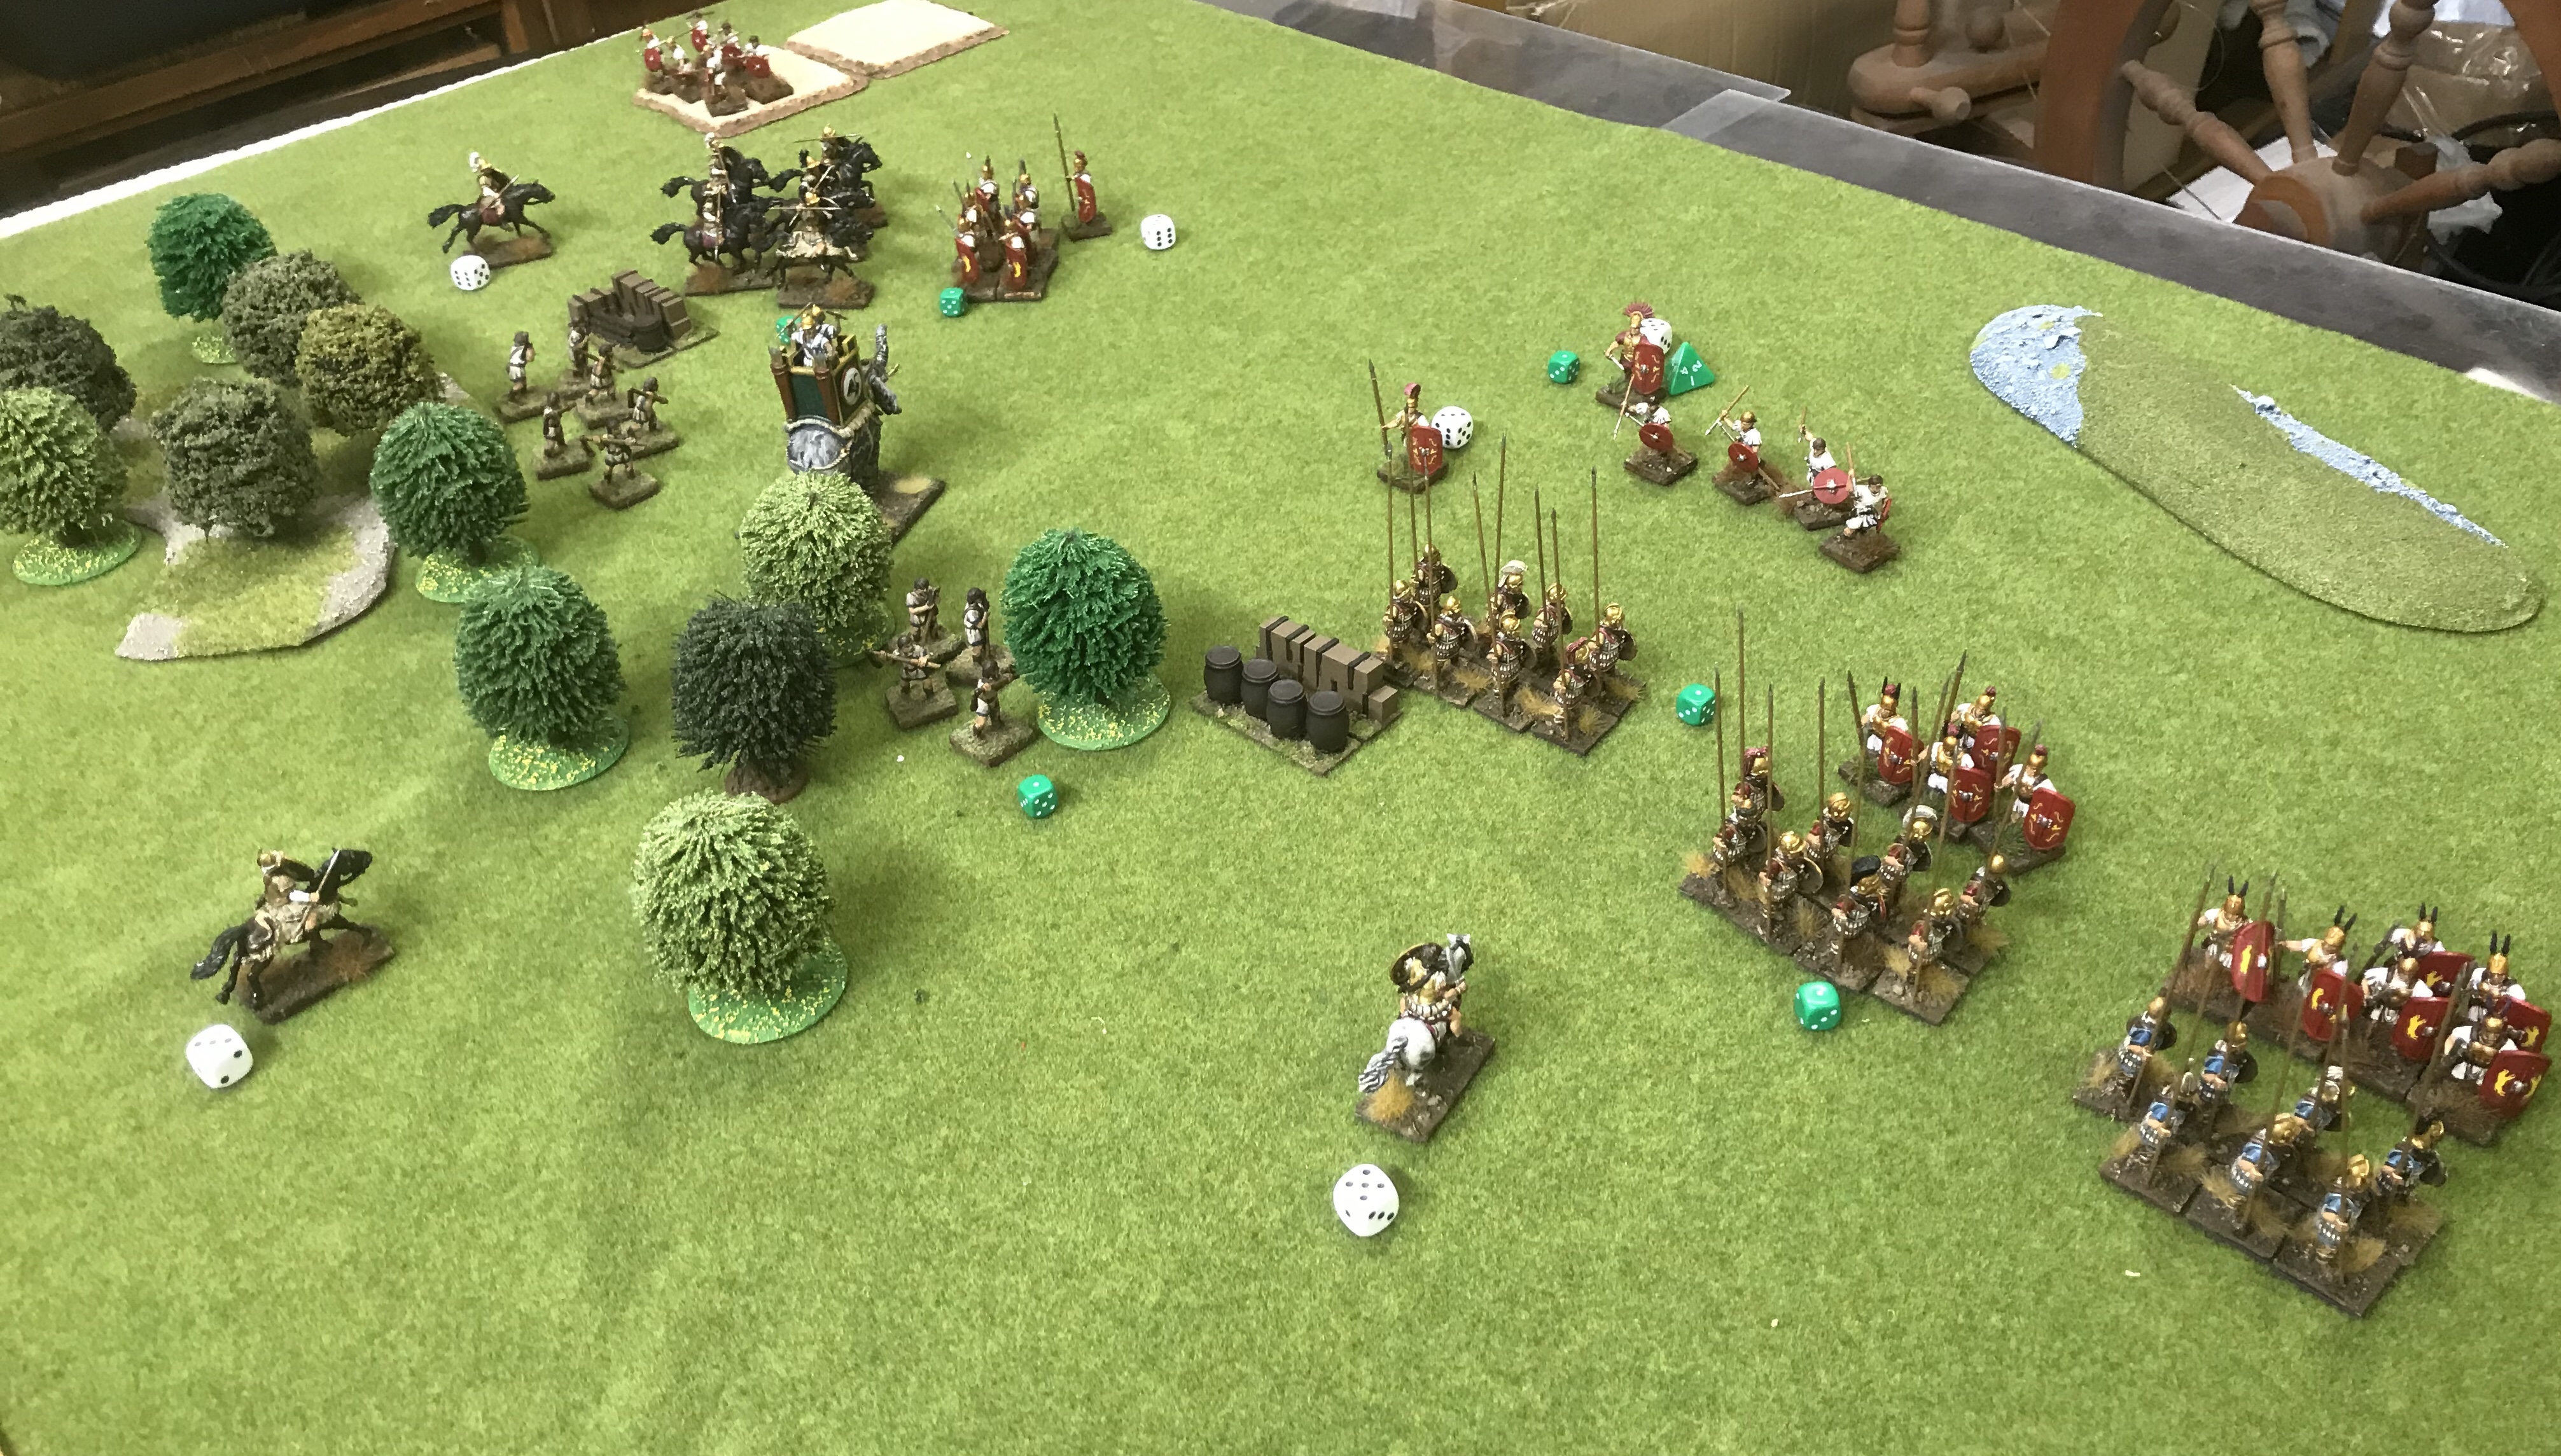
The armies alternate activating units with the possibility of interruptions until all units have been activated 3 times or (more likely) both sides spend all the command points that they can or want to spend. The images show the positions after both sides have finished a turn.
The armies move up cautiously wanting keeping units’ fatigue count low. All close order infantry move the same speed so unlike in Saga the Epirote phalangites can keep up with the action.
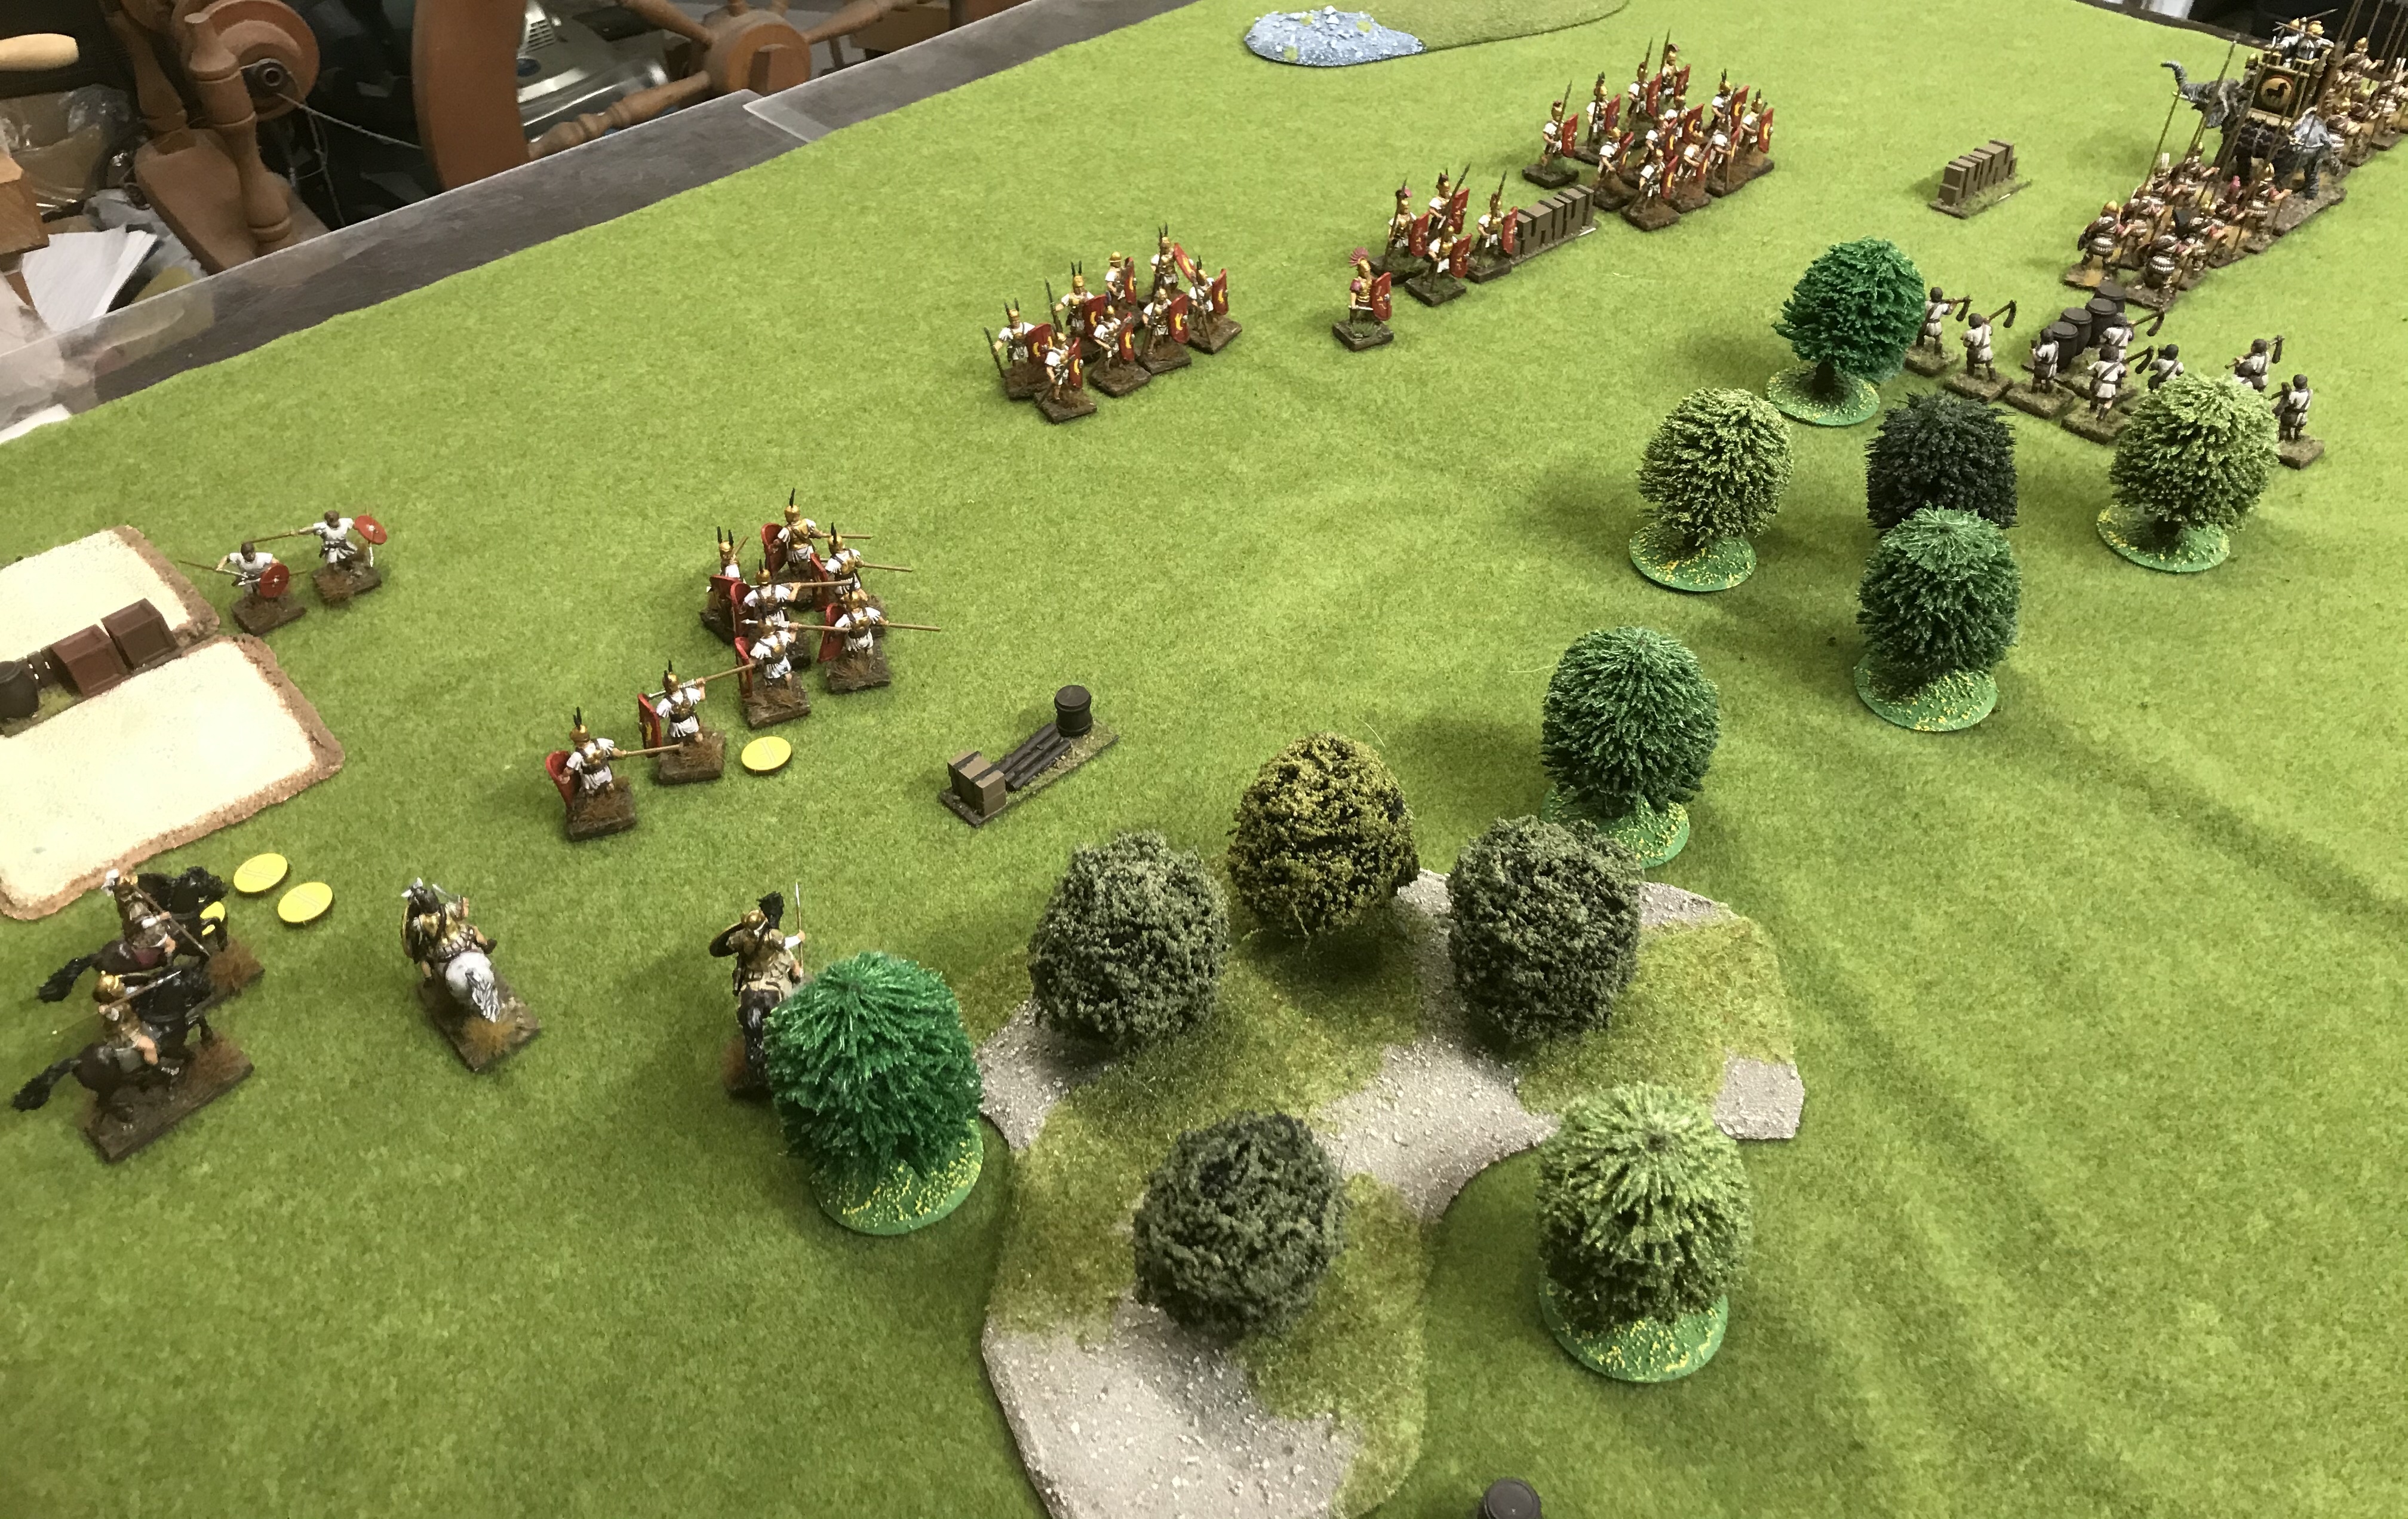
The centre Romans suffer heavily with shots from the Epirote slingers. The Roman line uses a defense stance against the Epirote phalanx blocks. This gives the Romans an additional save but forces a withdrawal so they are pushed away from the objective.

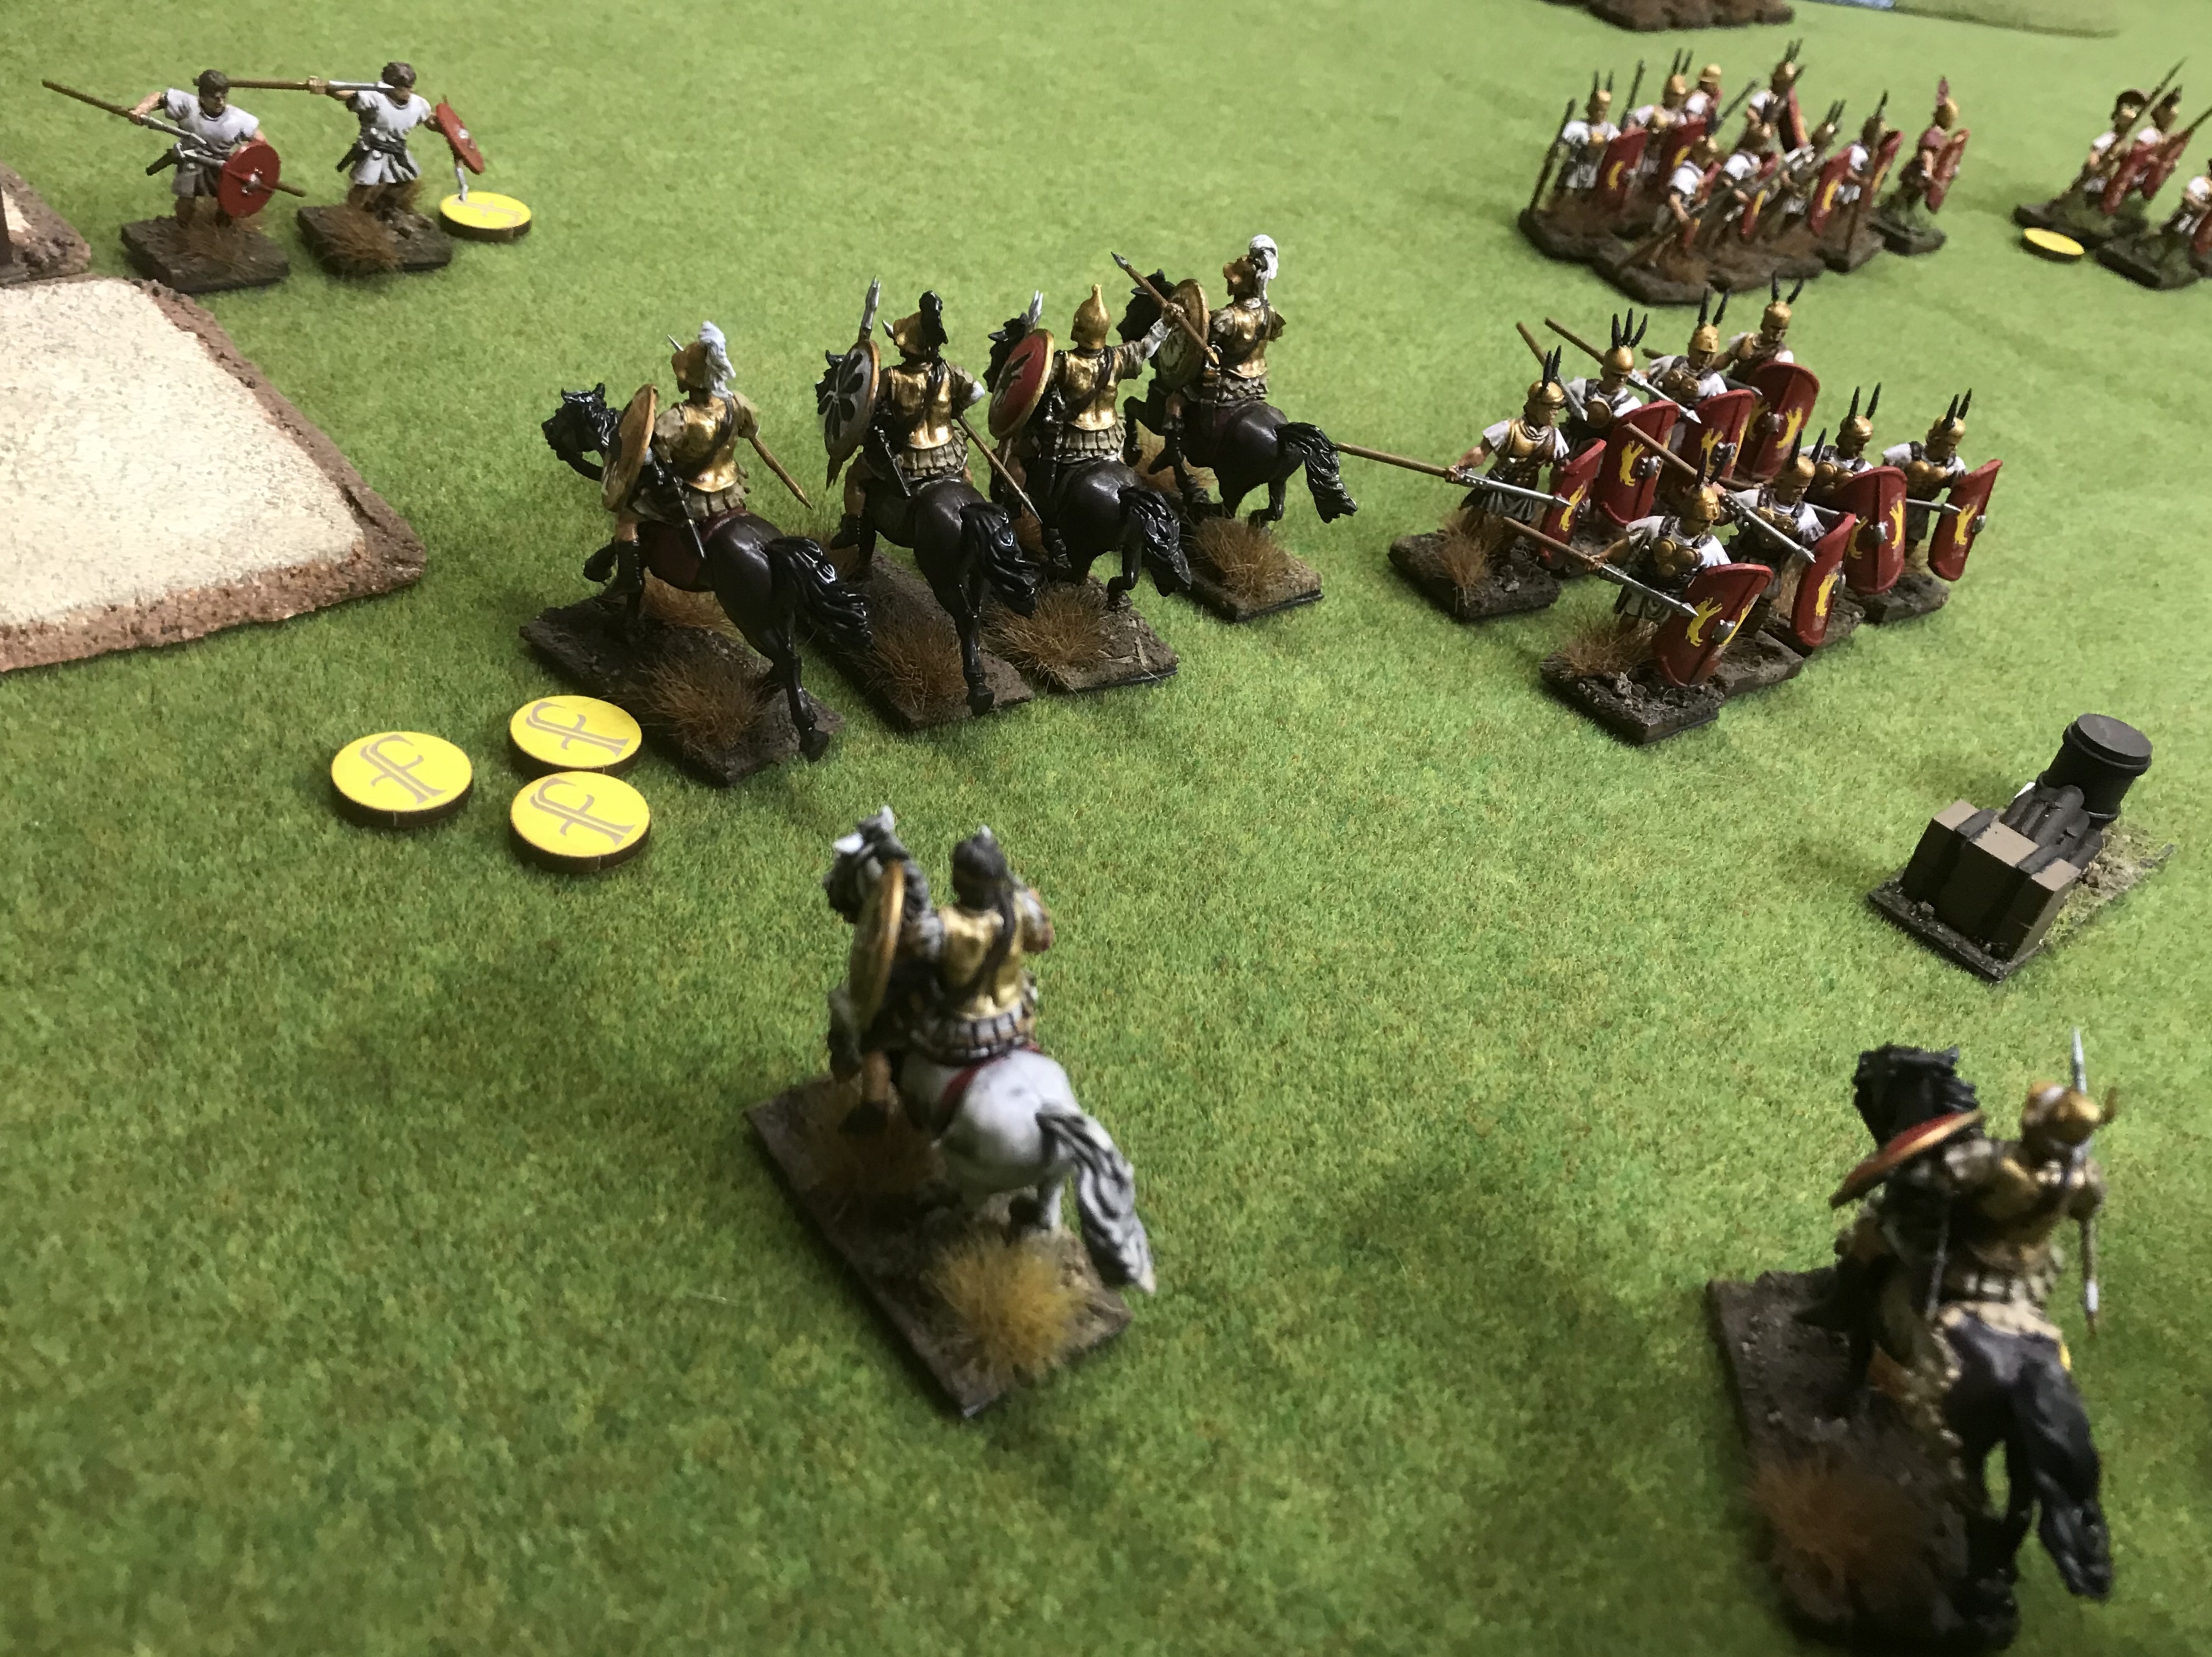
The elephant shuffles forwards, its crew takes out another Hastatus and the slingers also whittle down the same unit. The Epirote cavalry has limited affect on the Hastati that they charge but does push them further from the objective. The nearby velites stay in the broken ground and rain javelins on the Epirote cavalry but only remove 1 model.

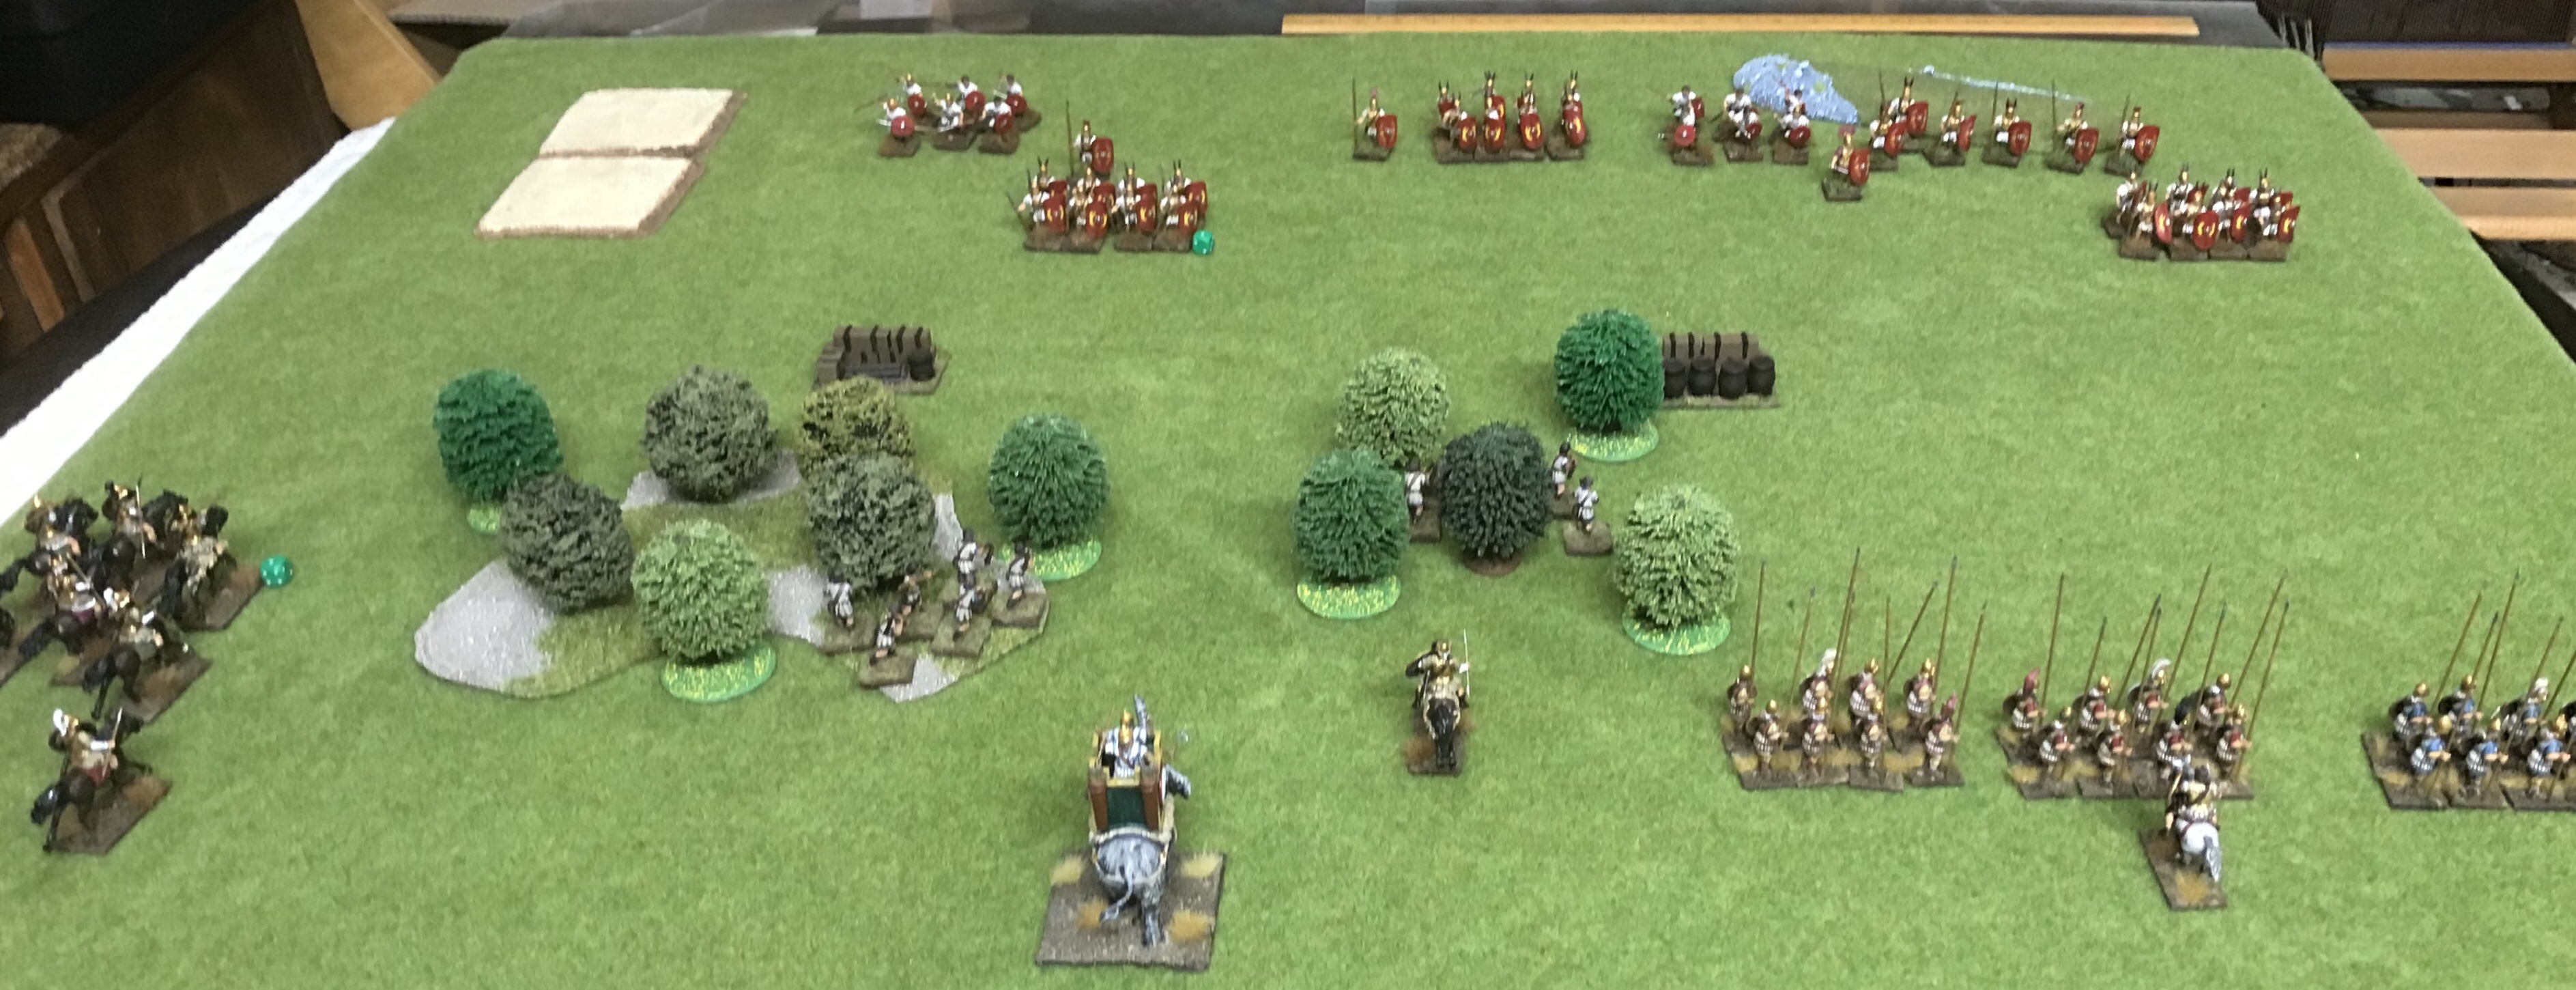
The Epirotes continue to push forward inflicting losses. Together with control of both objectives this breaks Roman morale and wins the Epirotes the game.
A look at the ‘removed pile’ shows how conclusive the Epirote victory is.

The Romans lost the skirmish battle which led to the Epirotes rolling up the main battle line. The Epirote slingers rolled luckily to neutralise their opposing velites. The other velites unit was safe at the far edge of the battle but out of the main action. Phalangites are very strong head on. They can spend an activation and a fatigue to counterattack in melee. They then get to strike first against any attacker with a shorter weapon, which is everyone else. This ability does not work for flank or rear attacks but with the nearby velites driven back the Romans had lost that option. As with Saga moves must be in straight lines so getting onto a flank or rear will take several moves.
The Roman Hastati and Principes have the option of throwing their pila but that is 1 action to throw and another to reload. This gives a number of options, all are at long odds unless the phalanx is in rough going or taken from the side or rear. After each action except the first any opposing unit can attempt to interrupt so it can all go horribly wrong. Pila options include throw then reload (2 actions), expect to be attacked, use 1 action to boost their defense with a hold stance. Throw then charge in as close order (2 actions) if the phalanx can afford to spend 1 activation and 1 fatigue it will attack first. Move to open order, throw then wait, move away or charge depending on the effect of the pila shooting.
The activation and action system is pretty easy to pick up if rather marker heavy. Combat seems more luck dependent than Saga because less dice are involved. With very few exceptions 1 model rolls 1 die. In Saga crucial combats will endeavour to load up the dice rolled with advanced or combat abilities. In Clash of Spears the rolls needed for success are modified by accumulated fatigue of the attacker and defender. Between 2 ‘fresh’ units of similar quality there will be few successes but if 1 side is heavily fatigued the other will have a significant advantage.
Elephants require several pages of special rules in Clash of Spears. They can move slowly forward with the crew having a limited ability to shoot or melee. Alternatively they can be forced to rampage. They then move in a straight line inflicting 4 hits (which can be saved) on anyone who gets in the way. Elephants can be attacked with missiles or in melee from the flank or rear. The simplest anti-elephant tactic is to stay out of the way. The crew, except for the mahout, cost army points to field and are ineffective in a rampage so if starting from scratch elephants are a better buy without a crew.
In conclusion the Clash of Arms system worked rather well. A crib sheet for both forces is a big help. This can be printed from the army builder or hand-written. A few lucky rolls can skew missile or melee combat. This can be mitigated by fielding larger units. The game took a little longer than Saga. As a rough guideline the 6 point Saga game took about 90 minutes and 1,100 point Clash of Spears 2 hours.