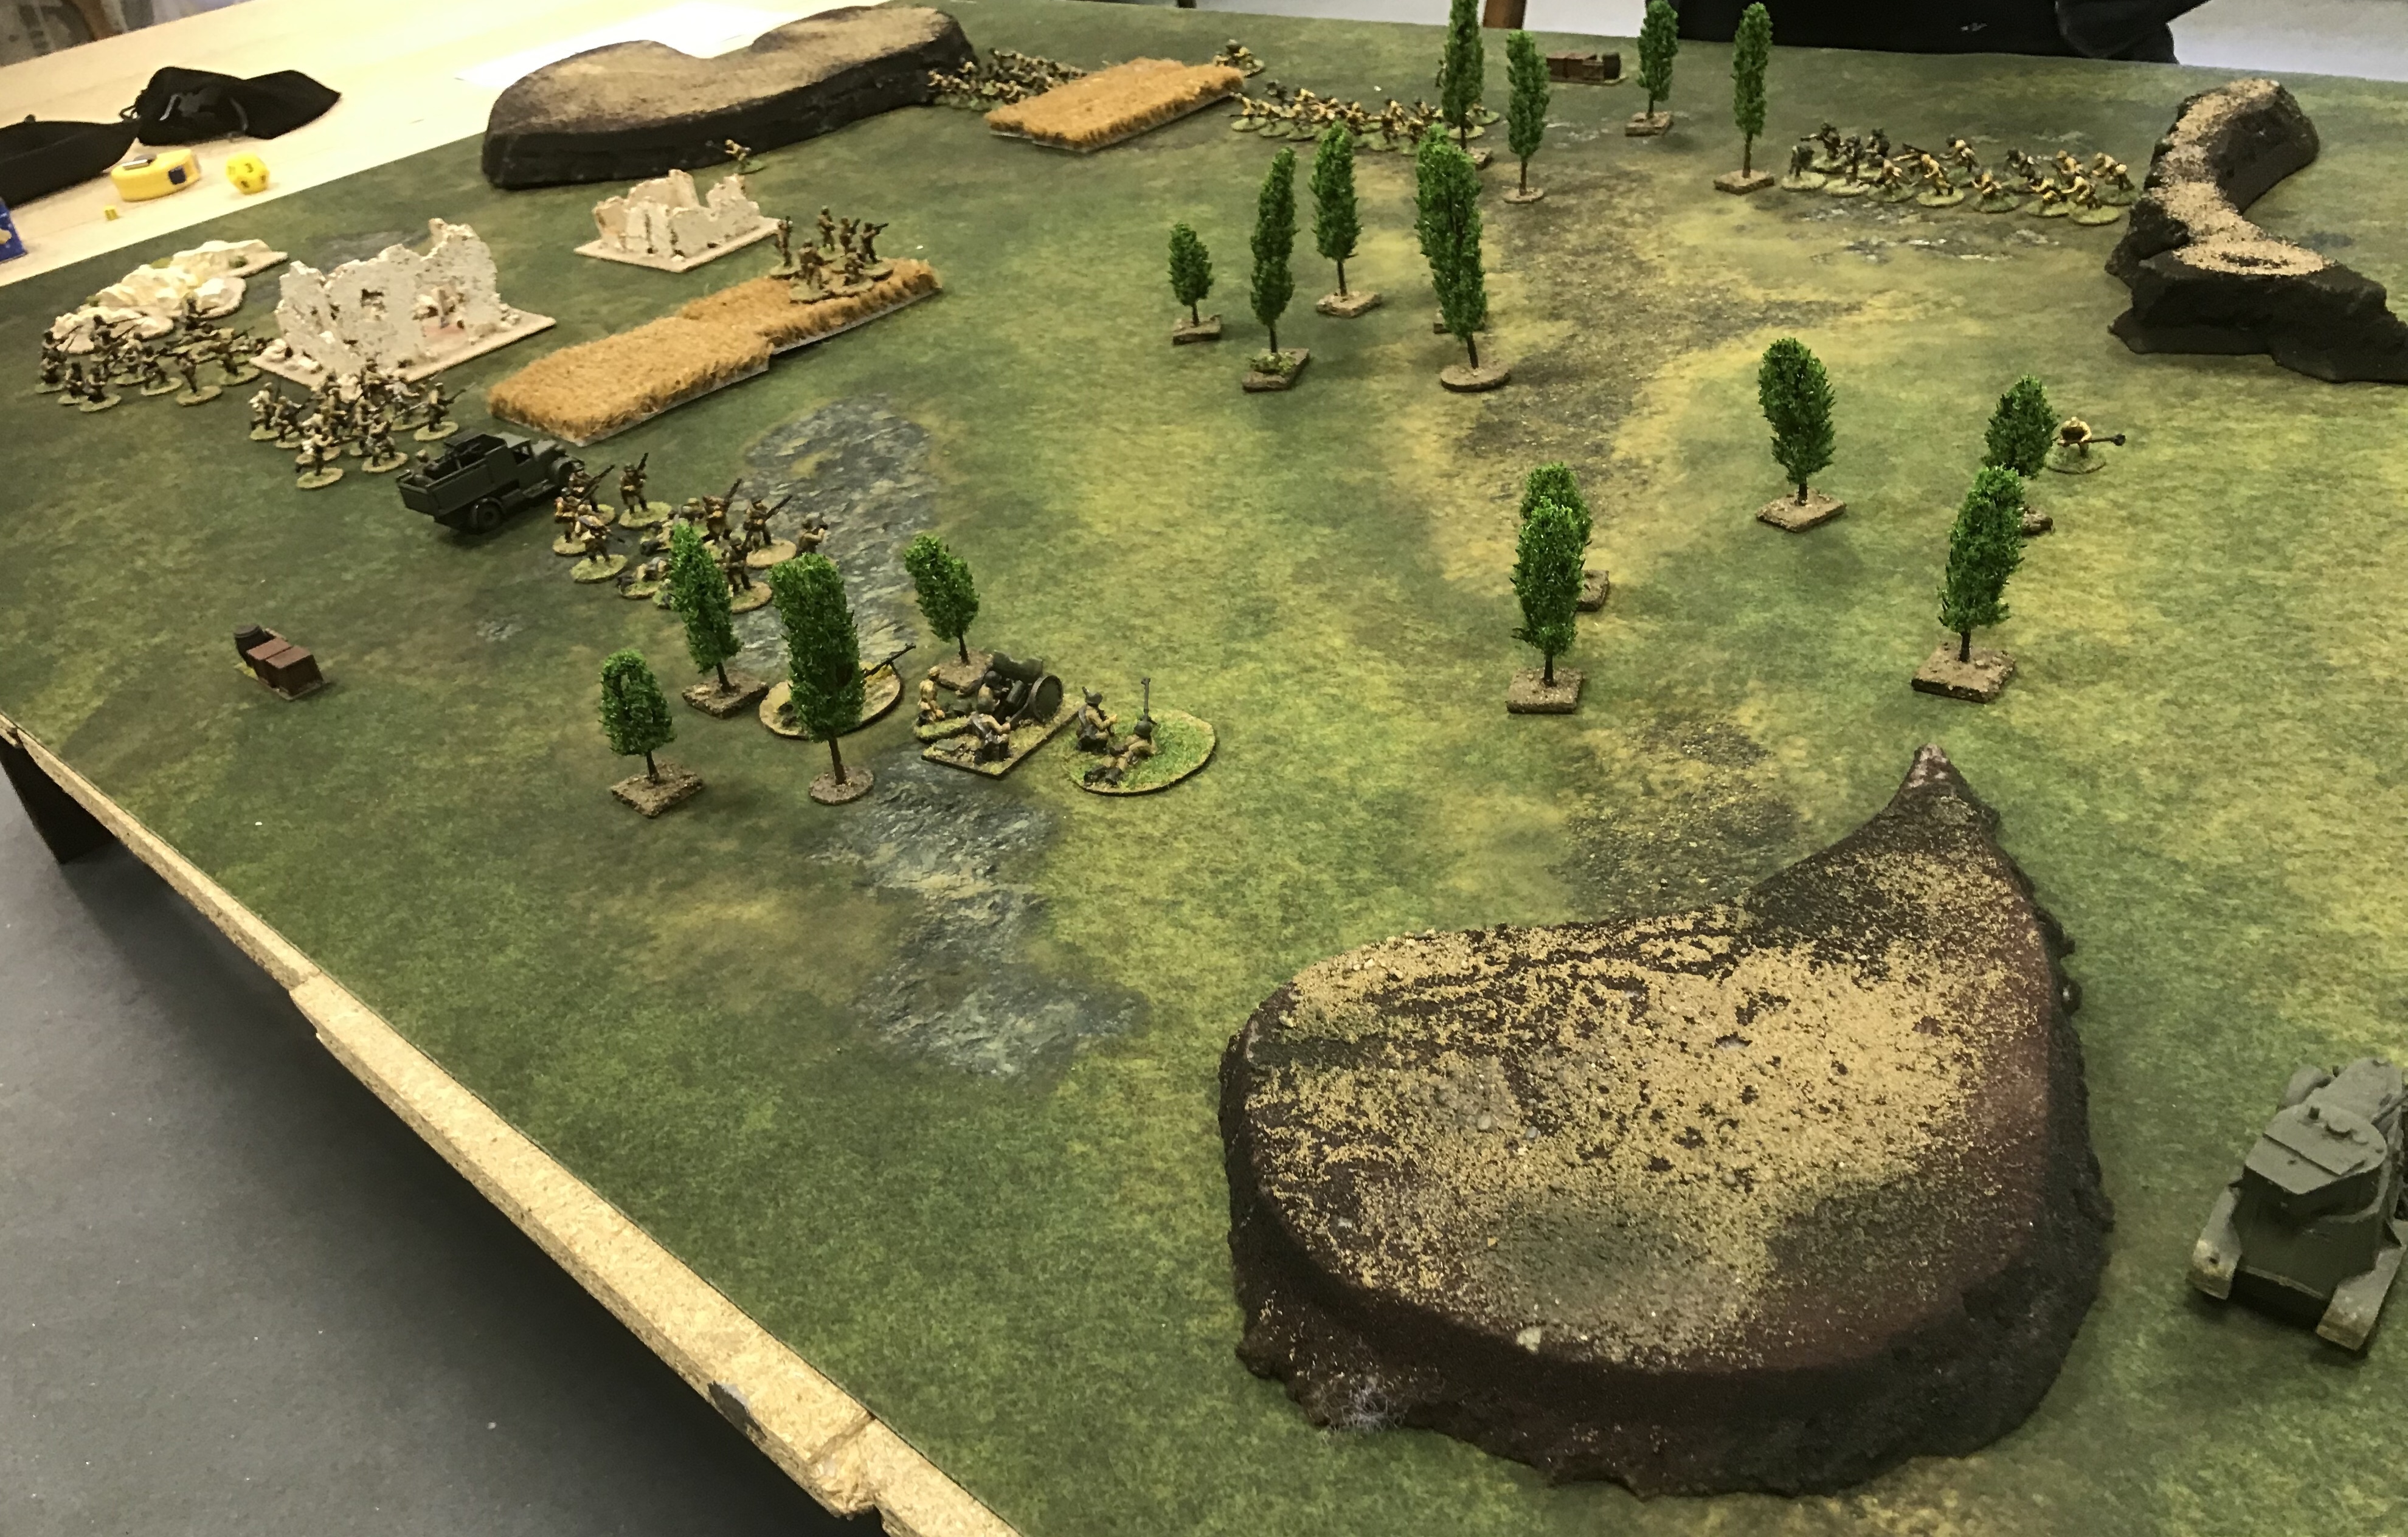
A 750 point ‘Demolition’ scenario between Kwantung Japanese and Stalingrad Soviets. The Kwantung list options do not include spearmen or Stuarts chock full of machine guns but they do get 2 nice shooty wheeled armoured cars. The Soviets are almost in period as the Japanese army in Manchuria was not at the front of the weapons issue queue so all this might have happened in 1942. A strength of the Stalingrad list is that the free rifle squad gets to be fanatic (also for free).
To win at demolition a unit must be adjacent to the enemy objective at the end of a turn. At 1,000 points it is usually a slug fest ending in a draw as neither side can fight through the other. At 750 points there is less stuff on the table so holding your own objective and threatening the enemy’s is tricky. The 2 approaches are to hammer down the centre or outflank. An objective will usually be in the middle rear field, 36″ from each side. To outflank a unit cannot come on until turn 3 (at the centre of an edge) and infantry can run 12″ at best. On subsequent turns an outflanking unit can come on further down the board edge. Even so the maths is against an infantry outflanker making the objective, any terrain in the path will properly scuttle the plan. Vehicles especially wheeled vehicles are the ‘go to’ outflanking choice. In this game the 2 Japanese armoured cars have been sent to outflank. The exact edge of arrival is written down on set up. The Soviet knows the units are outflanking or in reserve but not to which side (or if they will use their friendly rear edge).
The Soviet scouts and Japanese tank hunters have forward deploy, everyone else is 12″ in from their rear edge. That Ba10 at bottom left is awfully exposed without infantry support. On this board the woods and ruins are dense terrain, units cannot see through them from one side to the other.
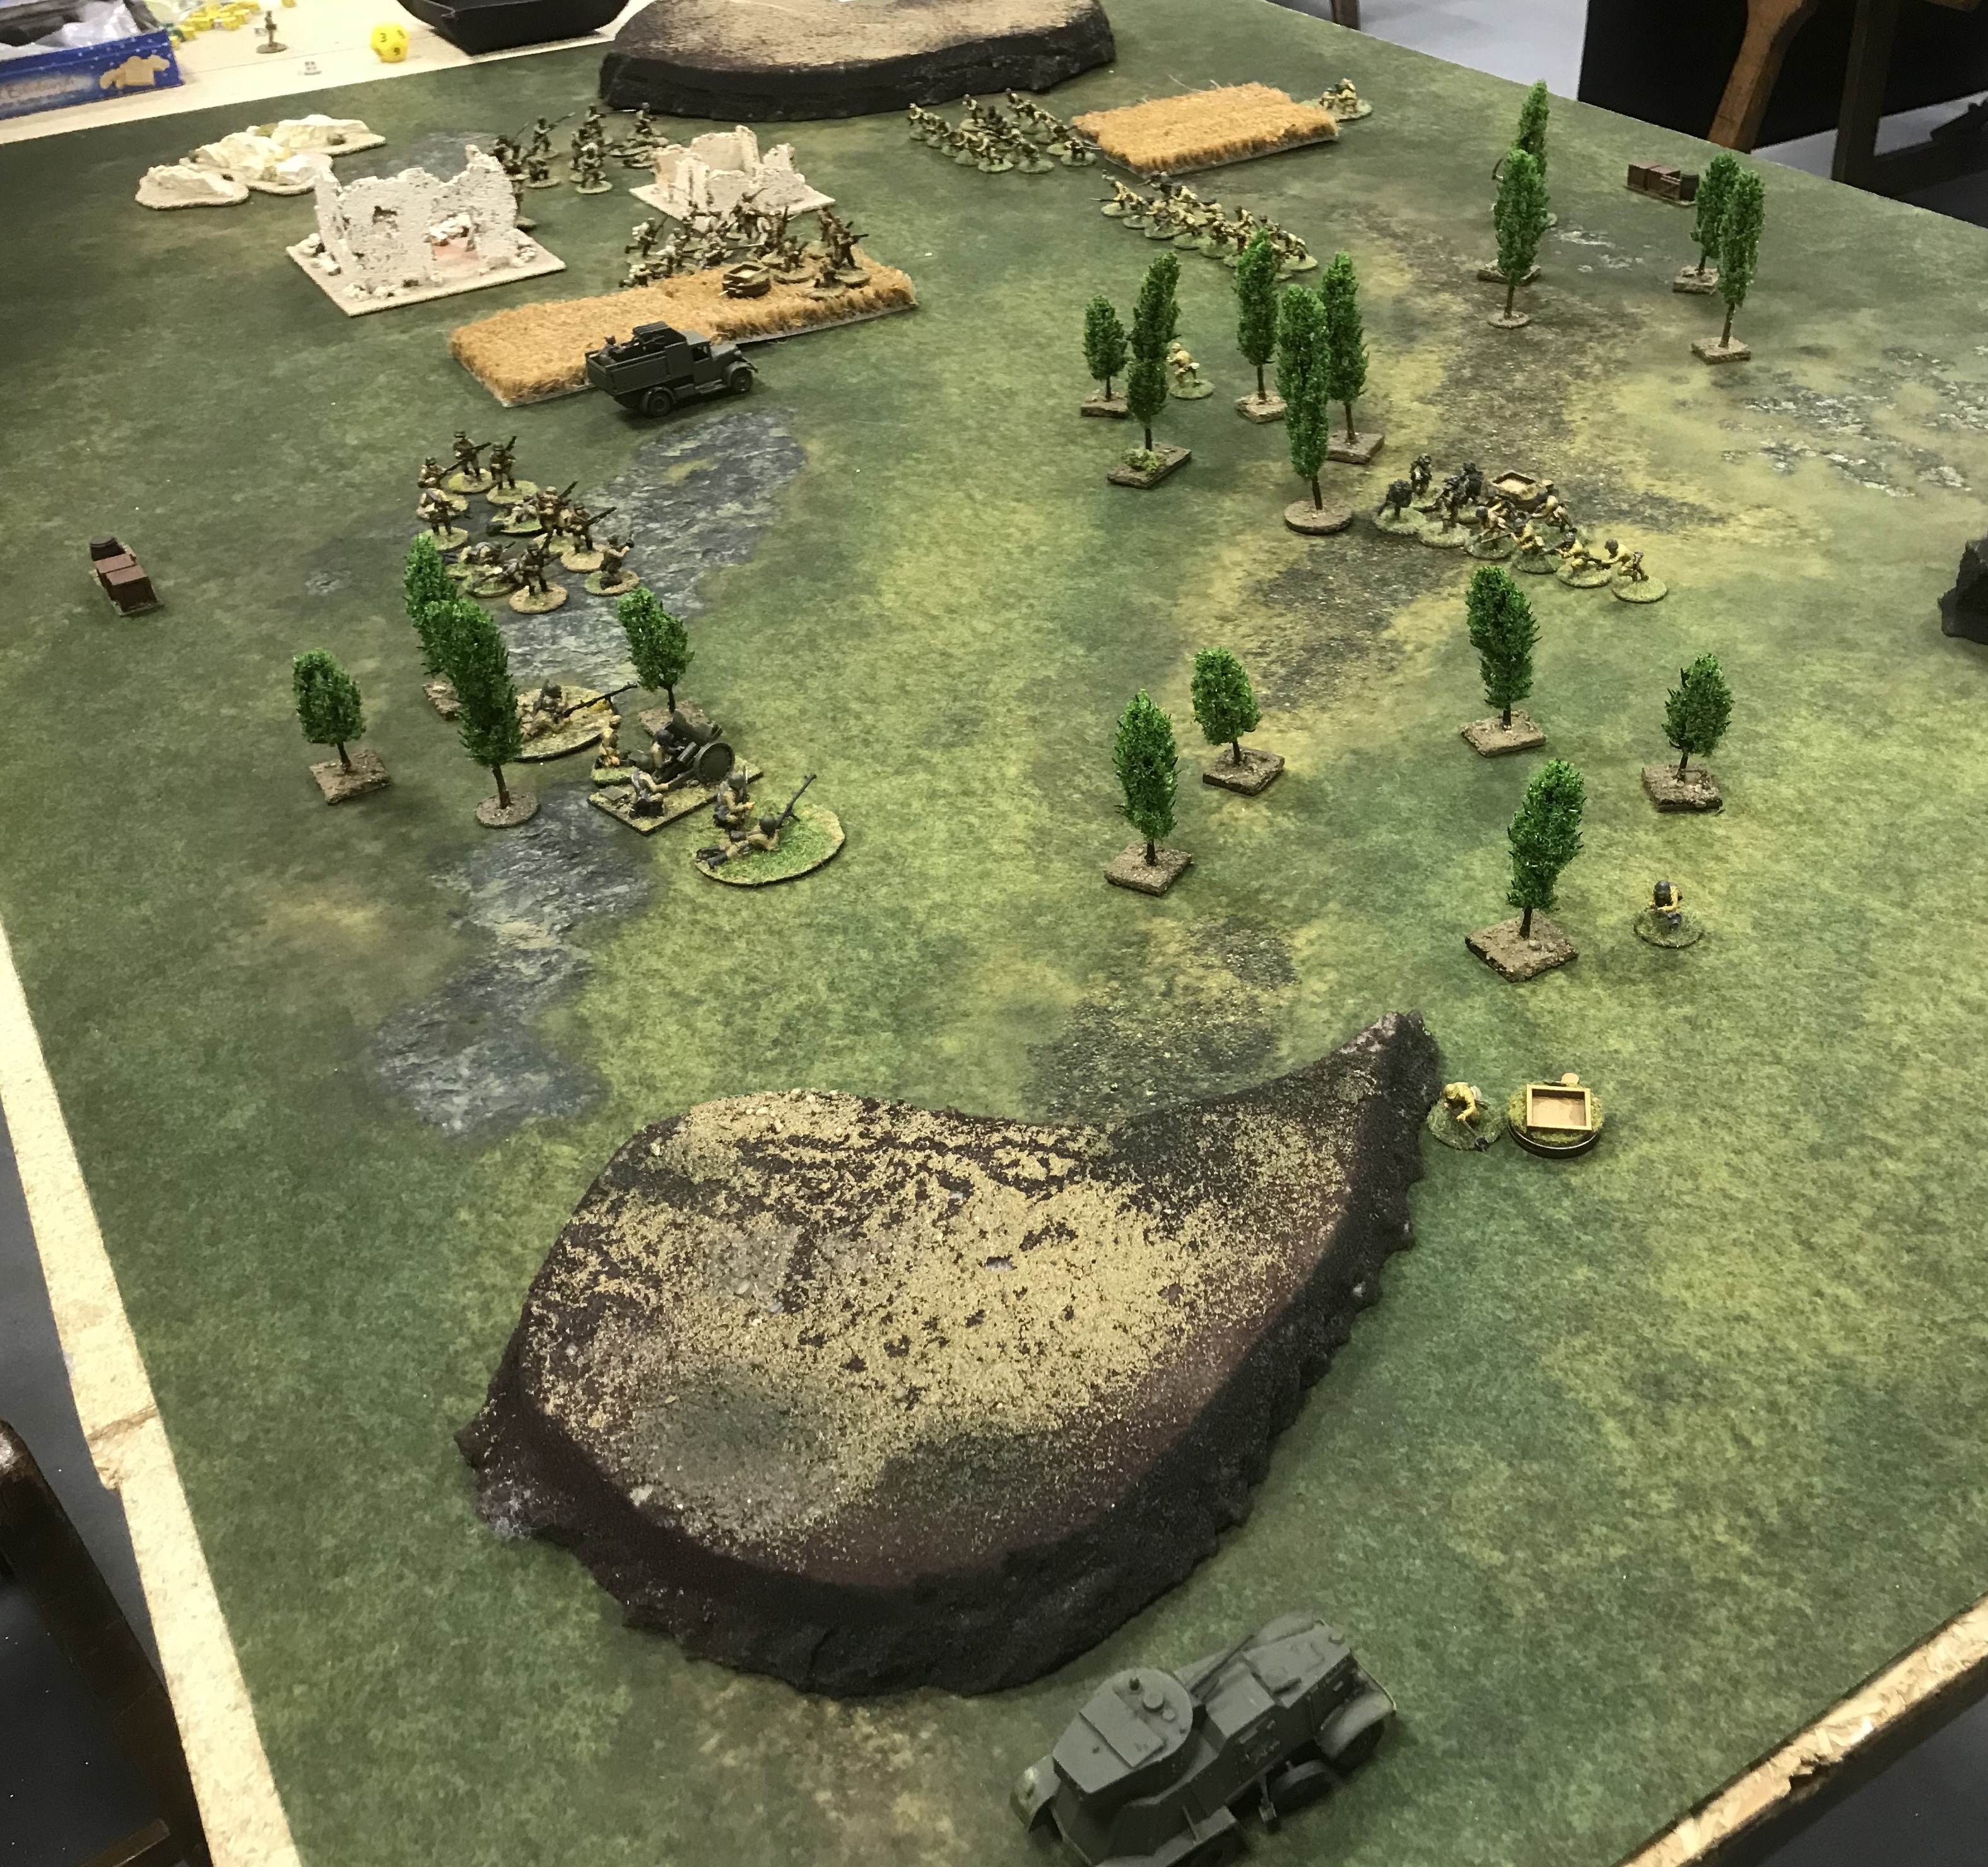
Both sides move up aggressively. Unusually the Japanese do not banzai but advance and shoot. The Japanese squads here are without LMGs. We must assume that the LMG teams are operating the guns in the armoured cars (10 shooting dice each).
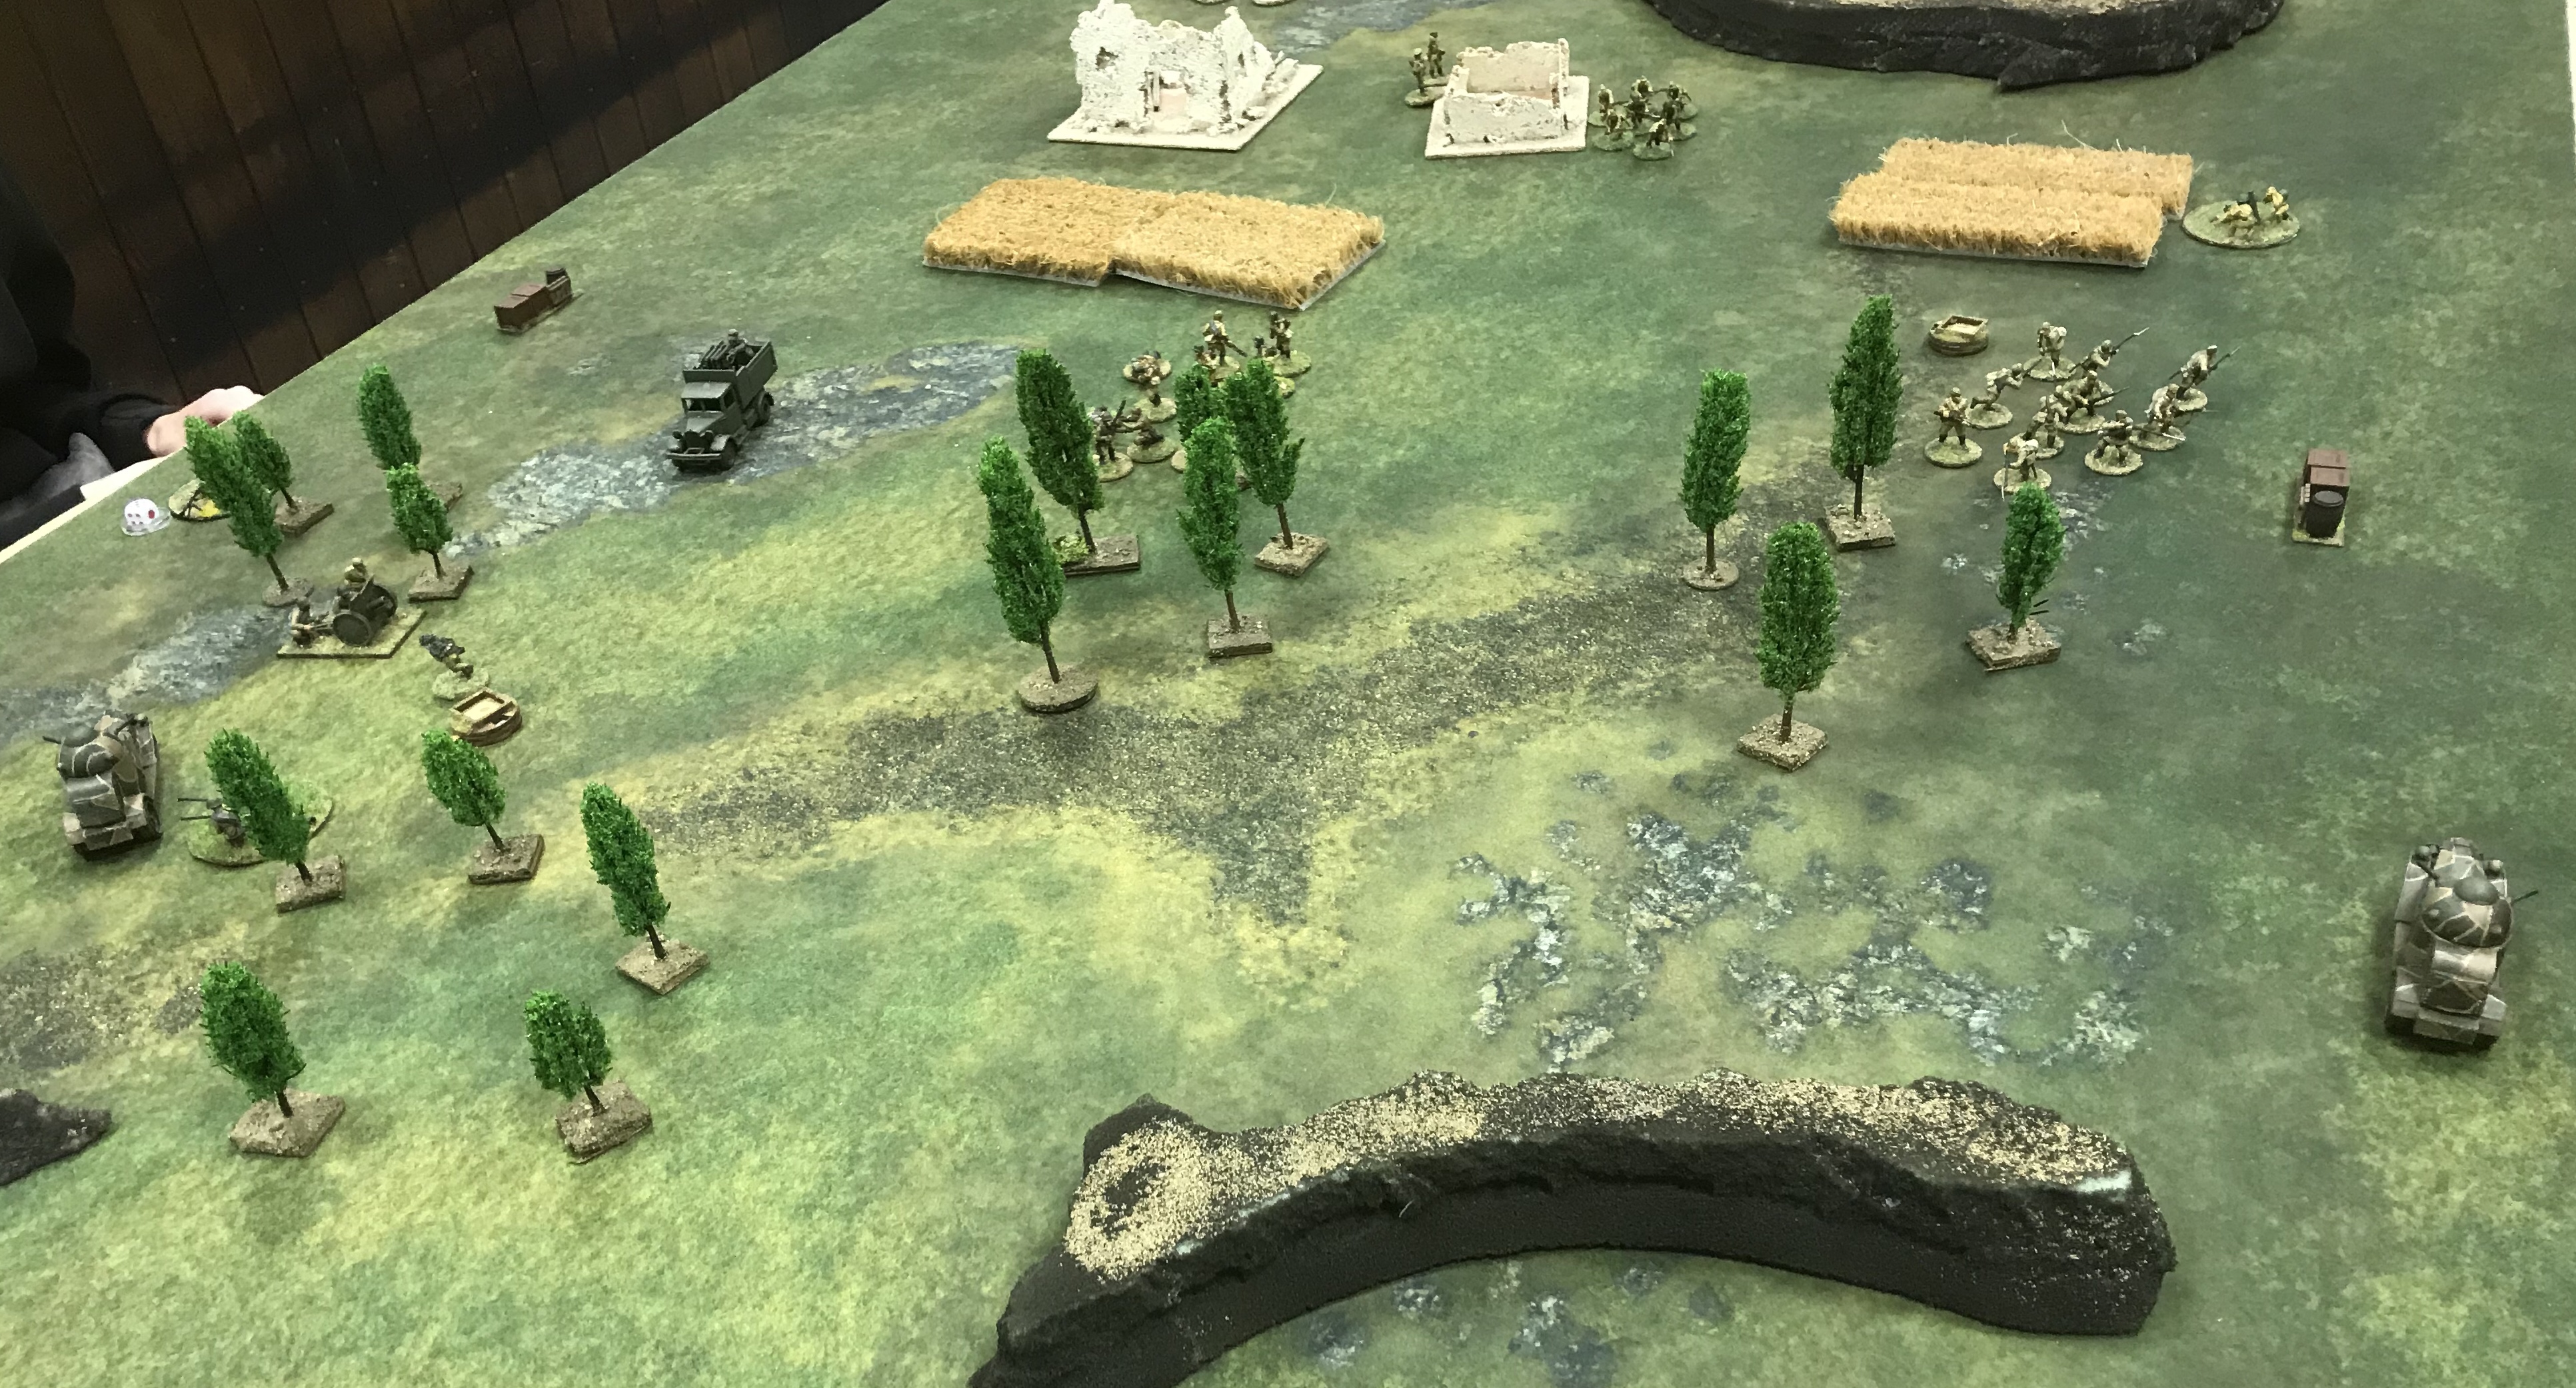
 The Ba10 is down to a suicide tank hunter. It moved away from 1 team and tried to shoot the other down but whiffed it. In the centre massive Soviet fire has created a hole in the Japanese line. If the Japanese go down they cannot banzai forward so have to take it on the chin. The Soviet scouts are out of it but they took a stack of Japanese with them.

Looking across the table we see both objectives and a definite lack of boots on the ground. The Japanese armoured cars both come on. One to protect their own objective the other to take the Soviet. The Soviet squad near the Japanese objective are the fanatical conscripts who have gone up to regular morale.
The conscripts are shot again and fail their leadership on activation going down. An advance would have put them on the Japanese objective and won the game this turn. The armoured car by the Soviet objective is having difficulty moving past the Soviet troops. It has been shot at at point blank over 2 turns but only hit twice and passed leadership to activate normally each time.
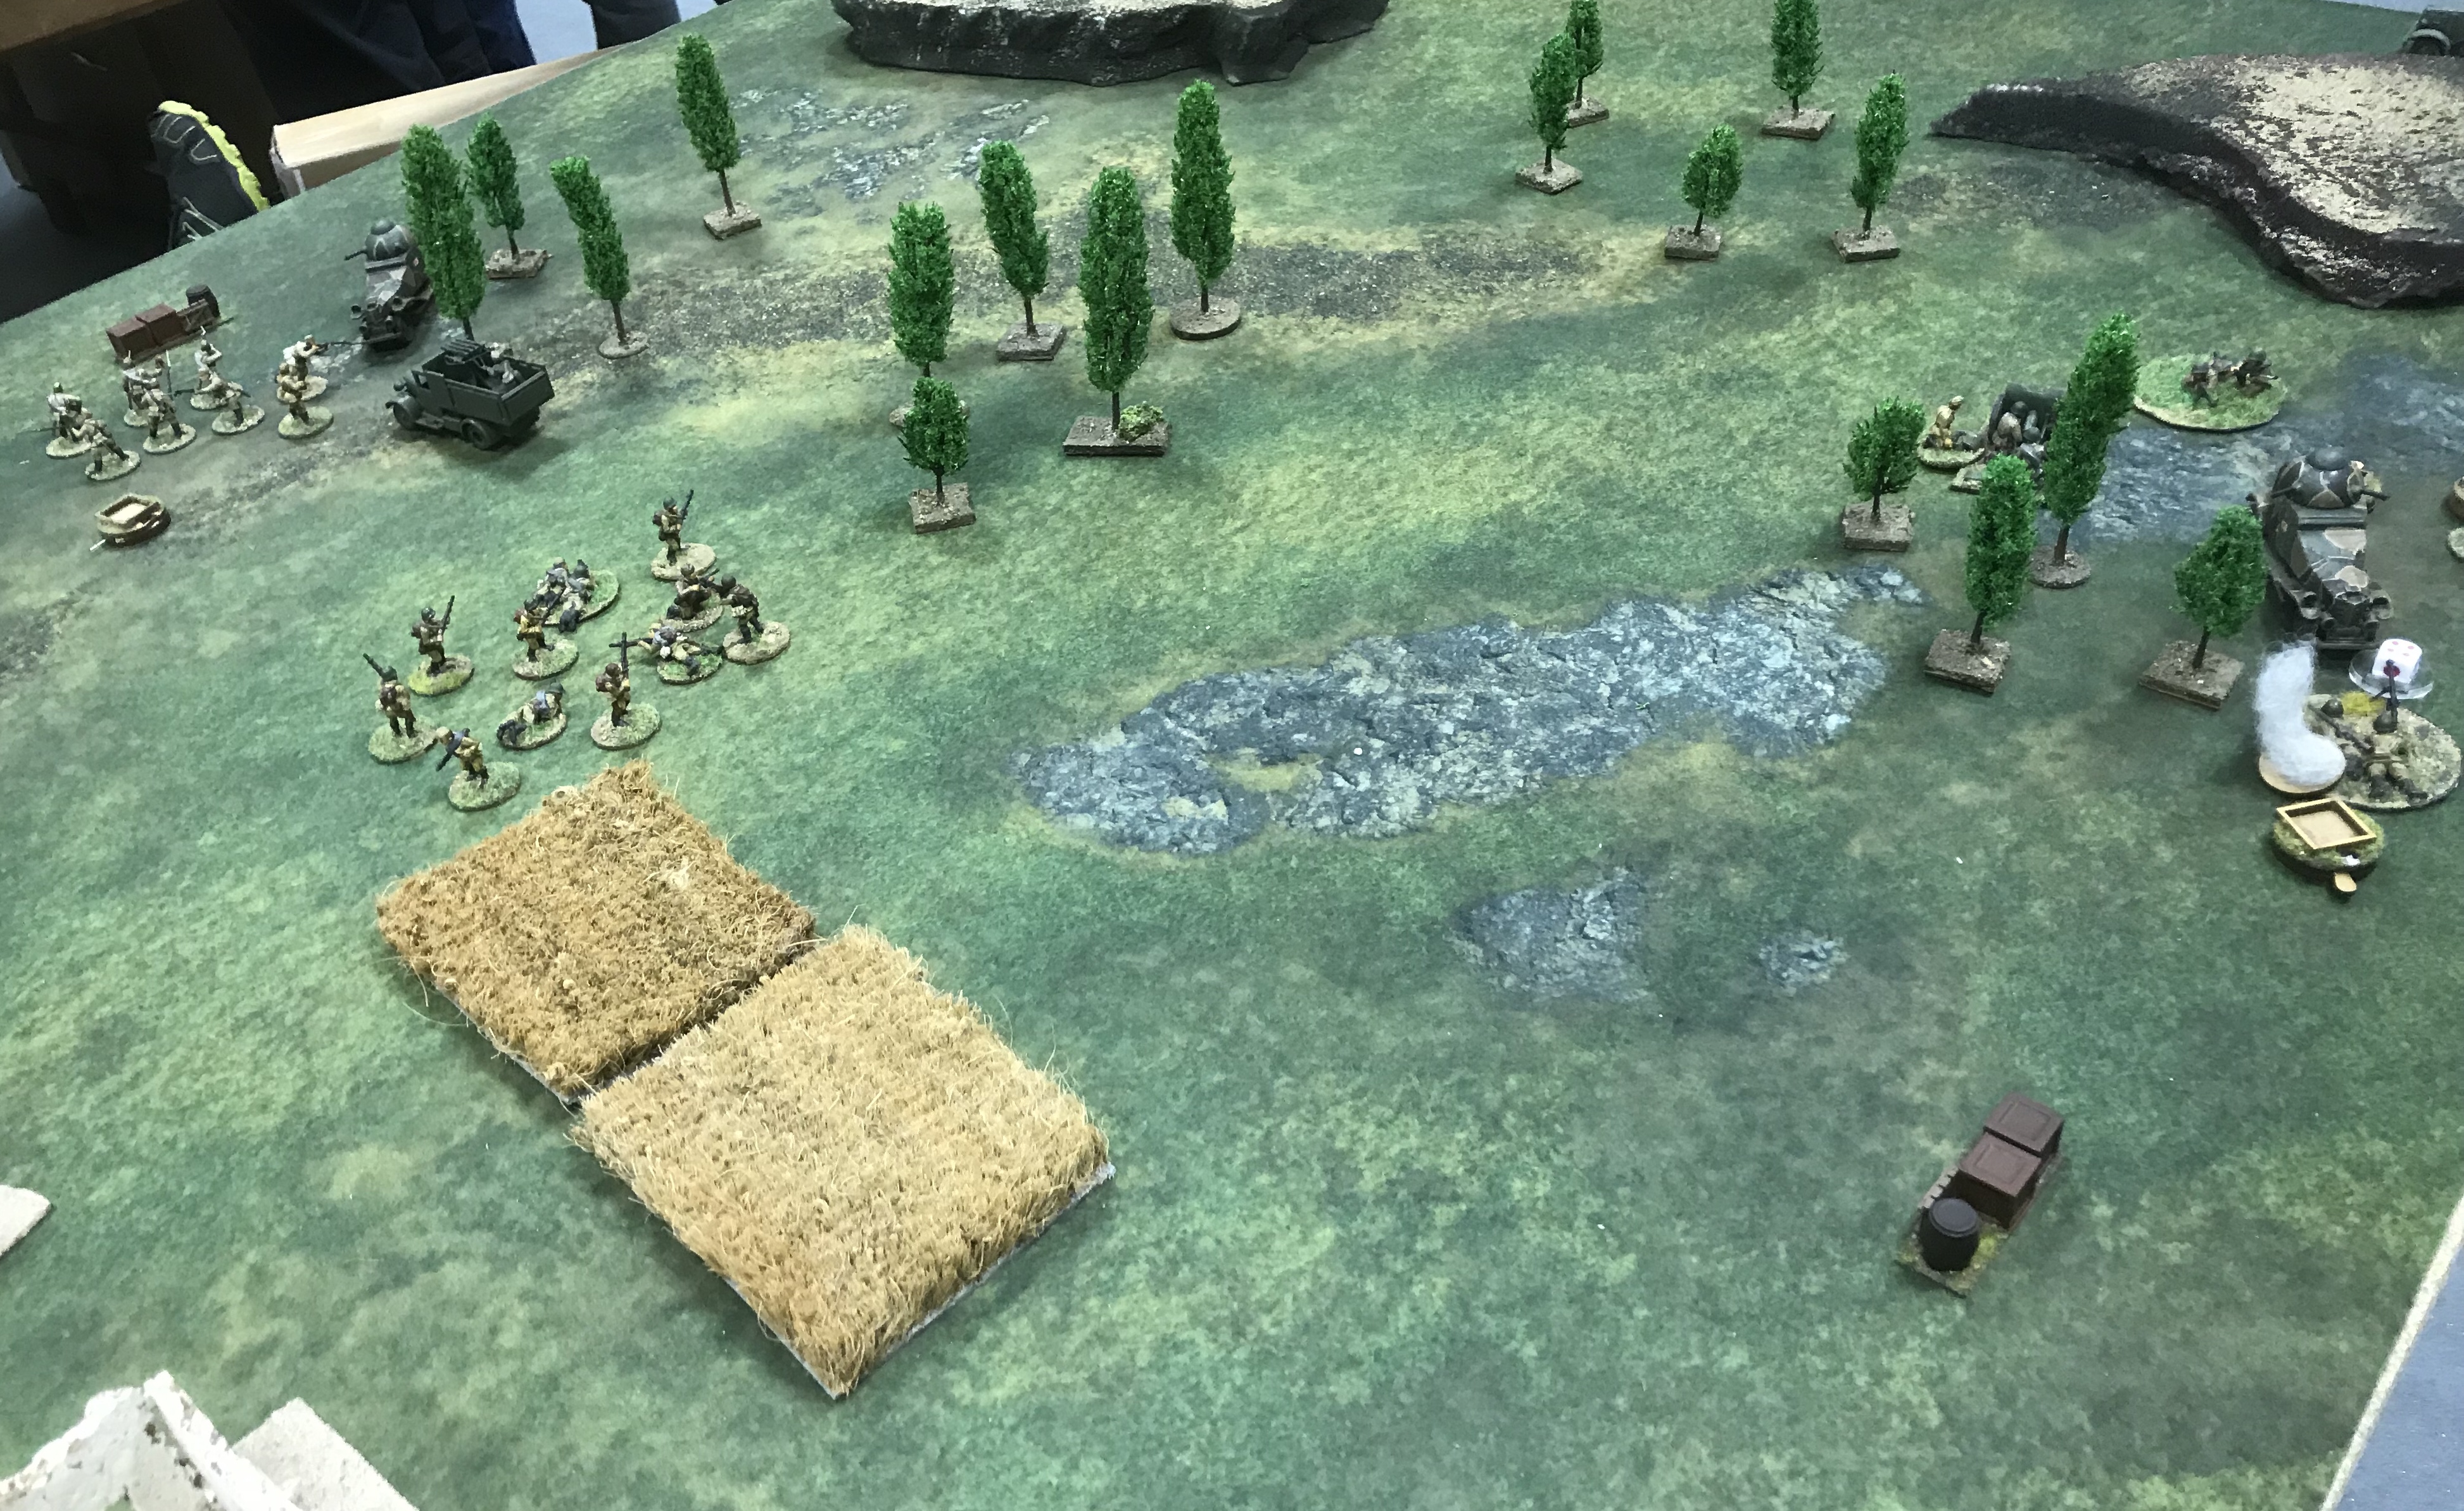
A lone Japanese survivor clears a path for the armoured car and it drives onto the Soviet objective. At the other side of the field the conscripts are all over the Japanese objective. A clear draw.

